Table of Contents
Preflight checks
The moment of launching and landing your kite is the time with the greatest risk and highest chance of an accident occurring. We can’t emphasise enough how important it is to double-check your actions as you set up and are. Doing a thorough kite spot assessment and doing preflight checks will put you on the right track for a successful launch and kitesurfing session.
Here’s what you’ll need to review:
Is every lark’s head connected properly? Check every connection is secure.
Is there symmetry in your setup? Every connection should be the same as on the opposite side of the kite. Match up how you connect the steering lines on each side so that your lines are the same length and affecting the kite evenly before launching and landing your kite.
Are you definitely set up in the right place? Do you need to move away from hazards, third parties, closer to the water? Don’t launch directly upwind of objects or people. Move into an open space at least 50m away from hazards.
Are your safety releases working? Open your quick release and leash release then rebuild at the start of every session so that you know it is working. Check that your safety line pulls through cleanly.
Are you confident you’re on the right sized kite for the conditions? This useful kite size calculation (link) will help you if you’re ever unsure.
Is all of your equipment in good, working condition? Always check throughout your setup for any wear to the kite, bridles, lines and safety line.
here’s a VIDEO for some visual learning
The Role of the Launch Assistant
It is the role of the assistant to launch and land your kite; to hold the kite in the correct position to launch and only to let go of the kite, upon your signal, if they are also confident that the launch will be successful. As the assistant holds the kite, they should check the bridles and lines are straight and the kite is in the correct position in the wind window. The assistant will also be checking for any hazards to ensure that the launch area is safe and at least 50m away from any downwind person or object.
As the assistant, if you are ever doubtful that a launch will be successful, DO NOT let go of the kite. Signal to the rider to stop and correct the issue you have spotted.
The assistant will lift and hold the kite in a C shape with one wingtip resting gently on the ground. The leading edge will face upwind, the centre strut will be parallel to the ground. The assistant should have 2 hands on the kite unless using hand signals to communicate with the rider.
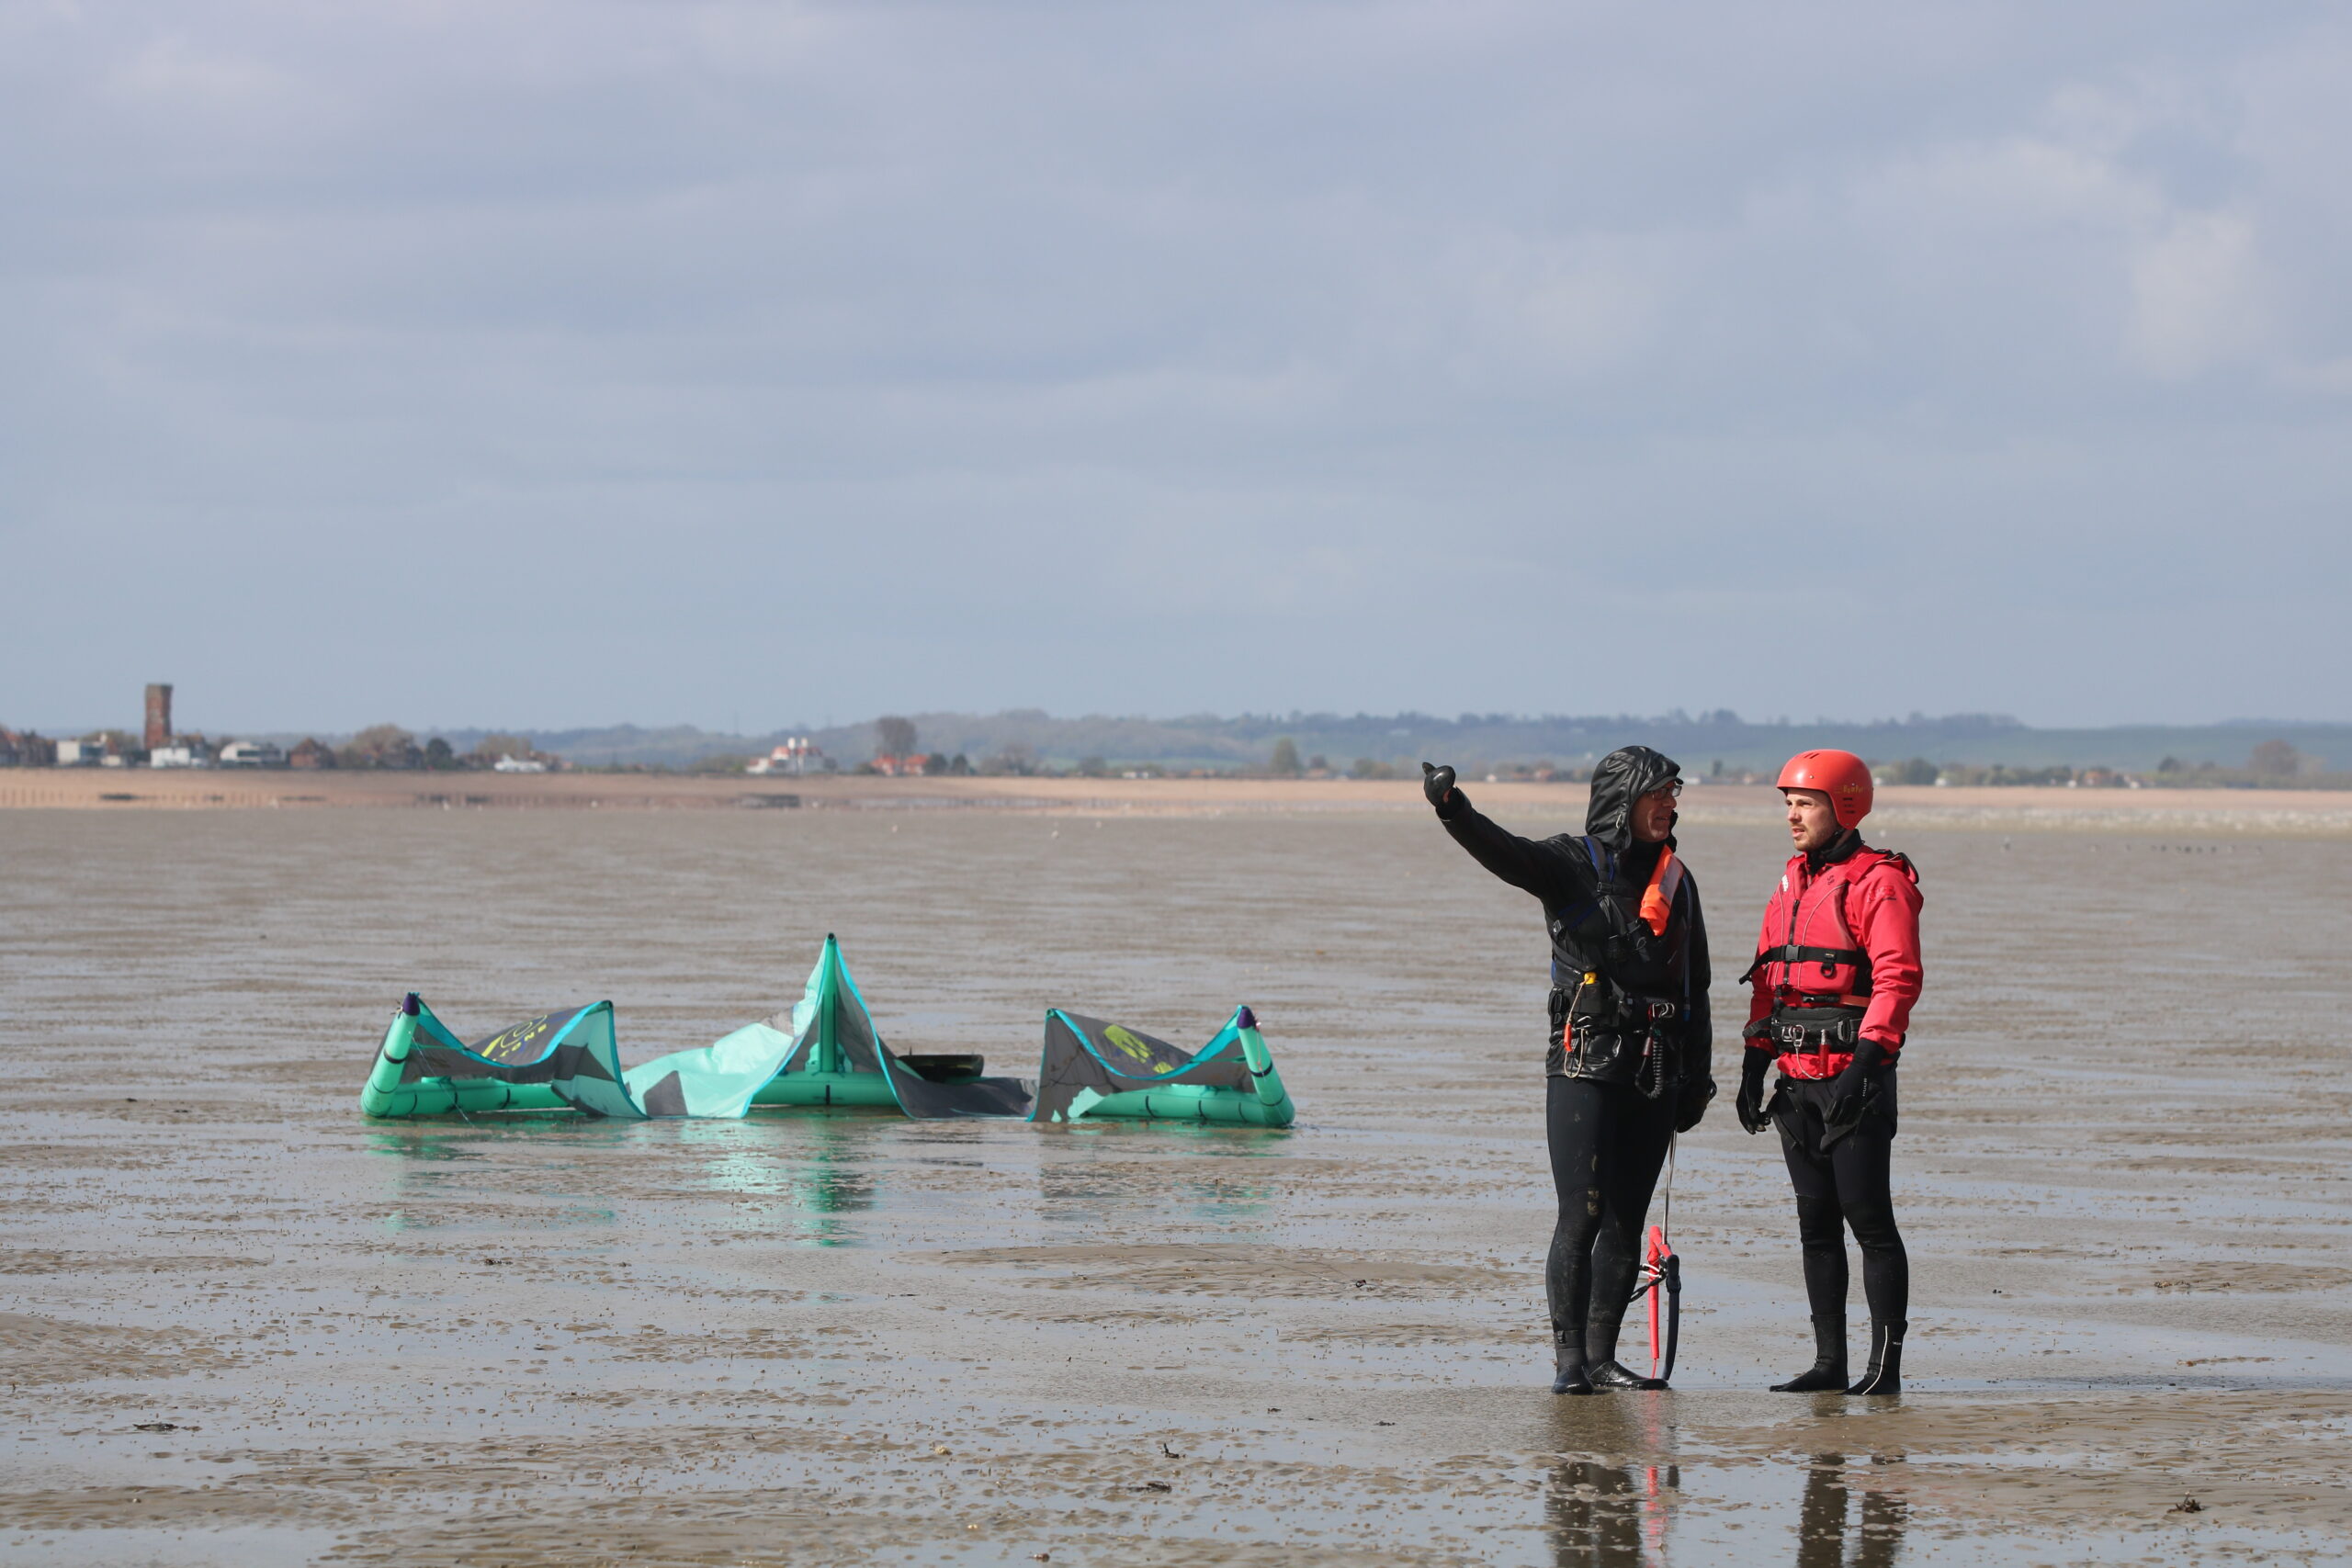
Communication signals between rider and assistant
The following hand signals can be used between rider and assistant during launching and landing a kite:
Thumbs up – OK to launch
Show palm – Wait (show this then put the kite back into the parked position on the ground if something is wrong)
Tap on the head – Land kite
Cup hands together and push forward motion from hips – Use bars quick release to flag the kite out on safety line
Positioning to Launch the Kite
Your assistant is ready to lift the kite and hold it in a C-shape launching position for you, but first you need to connect your safety leash to the safety line and chicken loop to your harness with the locking stick in place to make sure it doesn’t drop off your harness. Always connect your safety leash to the safety ring before anything else. Next you need to move into position to launch.
From setup, the kite is upwind of the bar. You now need to move to a cross wind position so that the assistant can hold the kite launch position for you. Walk the circumference of the lines reach to keep lines under tension as you move to the cross wind position. Whenever you launch, you should have the kite closest to the water away from hazards. In the water is the safest place to be, so if you and the rider can be in the water for launch, do it… we call this the ‘wet feet rule’.
Once the assistant lifts the kite into the launch position, you will need to observe the canopy of the kite to see if the angle of the kite to the wind is sufficient that it can fly.
Push your bar away from you. You should never launch the kite with the bar pulled in. Instead, with only one hand, use the widest part of the bar or the float for more leverage while flying with minimal power. This is the top hand as we’re steering the kite up. If the kite is positioned to your right, you’re steering with your left hand (and vice versa for the opposite side).
Is the canopy flapping? If yes, you need to step upwind until the canopy goes tight and you feel gentle feedback from the wind in the kite. Be careful not to step too far upwind. As you step further upwind, you are positioning the kite closer to the power zone. We should be launching our kite in the neutral zone. You can tell if you’re stepping too far into the wind as the pull into your harness will increase and the assistant will be struggling to hold the kite in place as it tries to surge forward to the edge of the wind window.
Never try to launch with too much power. Stop and trim the kite (link) or choose a smaller kite (link).
Are you and your kite in a good position to launch? Have you got your bar out still? Ok, great – communicate this to the assistant with a thumbs up and wait for the assistant to confirm by also showing a thumbs up. Move your signal hand to your quick release so you can act as fast as possible if something goes wrong. Steer gently with your top hand and guide the kite slowly around the edge of the wind window. Don’t steer quickly or cut corners. If anything looks or feels wrong, signal to wait and sort the problem before launching.
You only need to bring your kite up to 45º (around 10 or 2 o’clock). You don’t need to bring the kite up to 12 as the kite is already on the waterside. You also don’t need to do ‘test jumps’ at 12, you just need to grab your board and get out into deeper water where you’re safest.
How to Land a Kite
Just like launching your kite, landing should also be done as close to the water as possible. Signal to your assistant with a tap on your head then allow the kite to lower slowly around the edge of the window while you control the kite with the bar out. Again, use the widest part of the bar or even the float as the kite gets closer the ground and you need more leverage for steering. Gravity does all the work of lowering the kite around the edge of the wind window, you’re just controlling the pace of the kites descent.
As you slowly lower the kite the assistant will be able to hold the kite by the leading edge. Once in 2 hands, you can walk towards them to get rid of line tension, then walk downwind of the kite.
As the assistant, once you have caught the kite and have it in 2 hands; you can take a step upwind and towards the rider. This will slacken the lines so that you can hold the kite in a U-Shape carrying position.
You can now move away from the water, put the kite down in the parked ‘setup’ position and weigh it down again with sand.
NEXT UP: How to water relaunch an LEI kitesurfing kite
No sliders selected. Edit this page and select a slider in the Crelly Slider editor block.No sliders selected. Edit this page and select a slider in the Crelly Slider editor block.