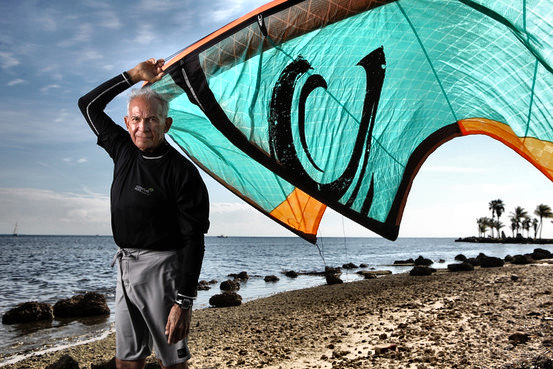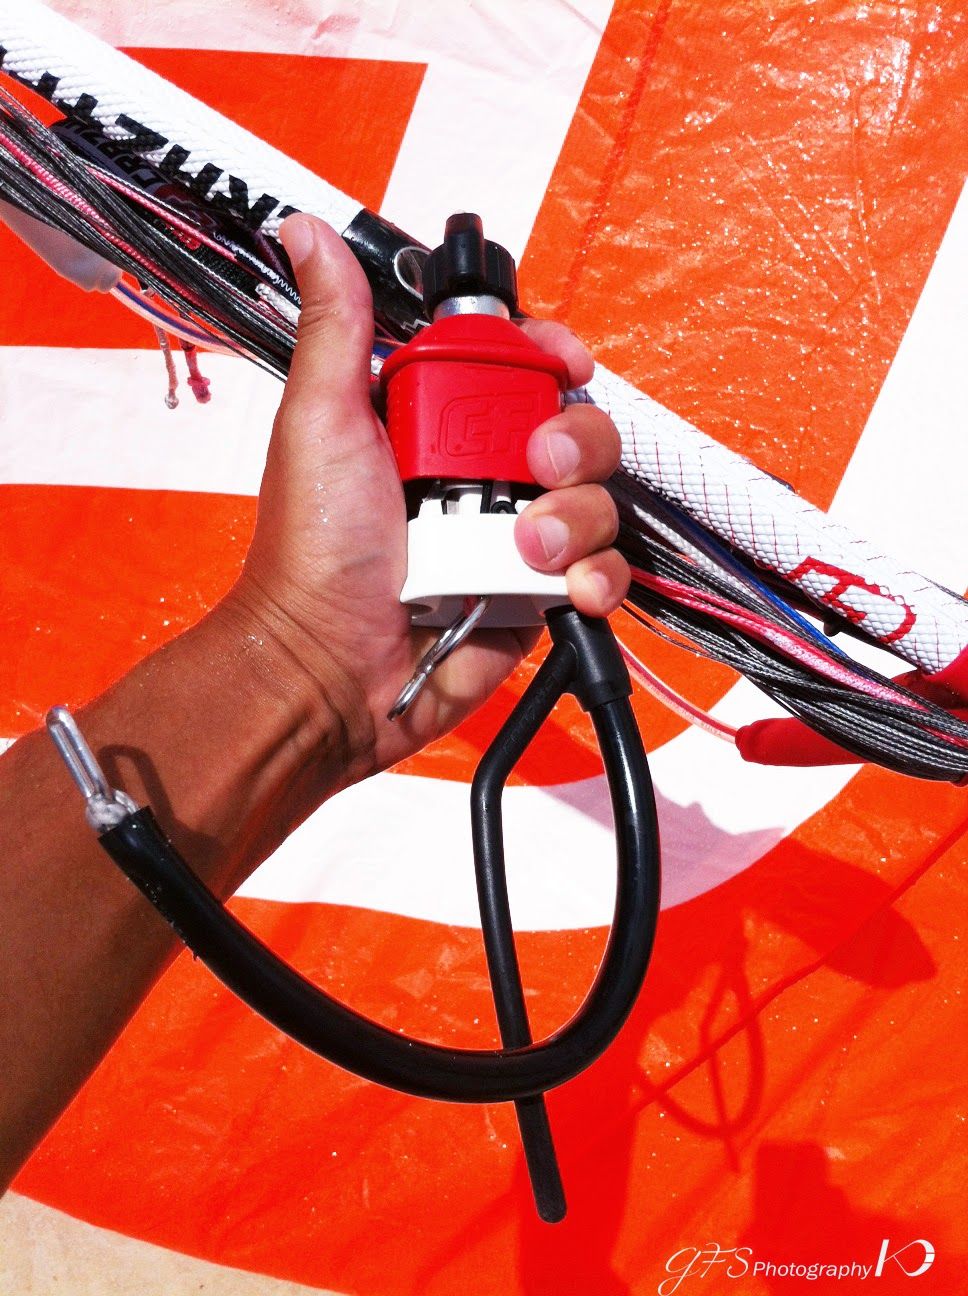
You may have heard these terms used in conversation and thought, what do they actually mean? Of course, one could easily mean the other; kitesurfing involves a kite and board, so could easily be referred to as kiteboarding, and kiteboarding could easily refer to riding along a beach on a beefed up skateboard being pulled by a kite. . .Waaaah, what’s the answer?! Well, it really depends on where the question is being asked. Let’s break it down.
The Difference
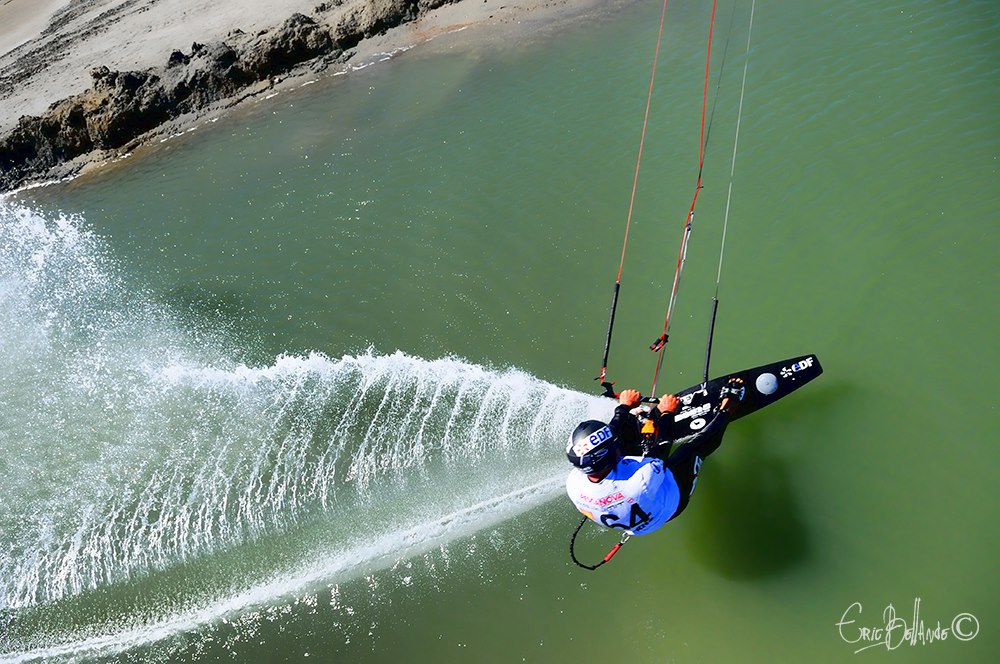
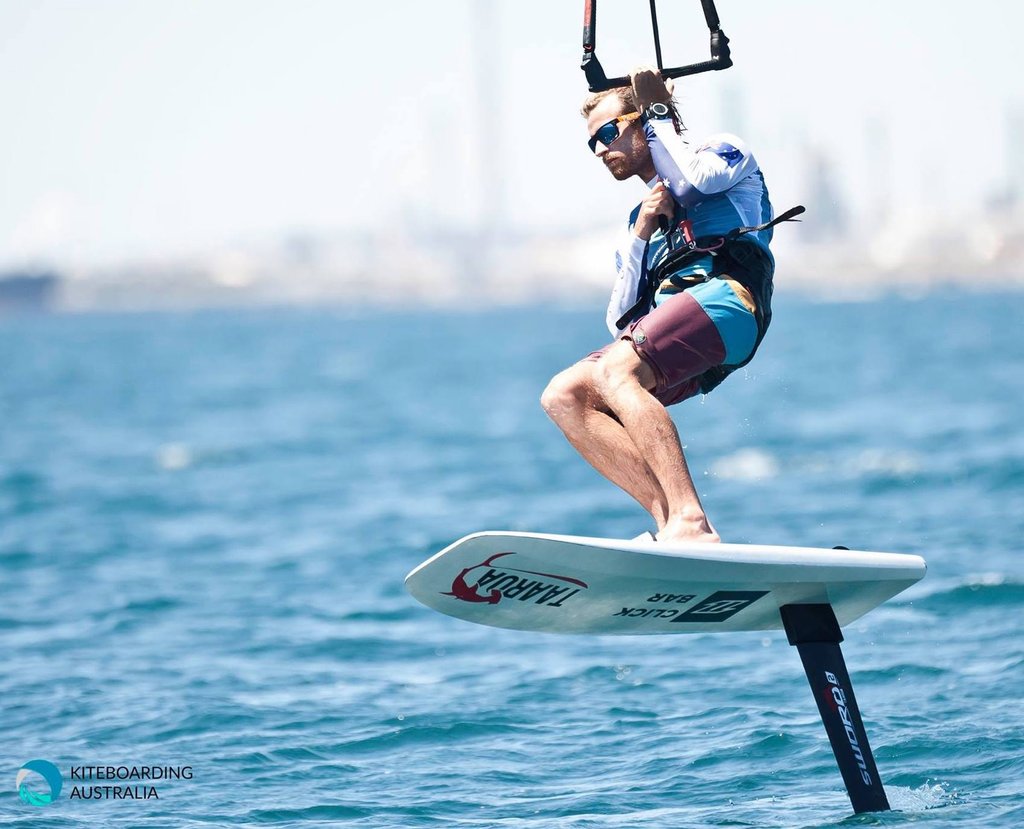
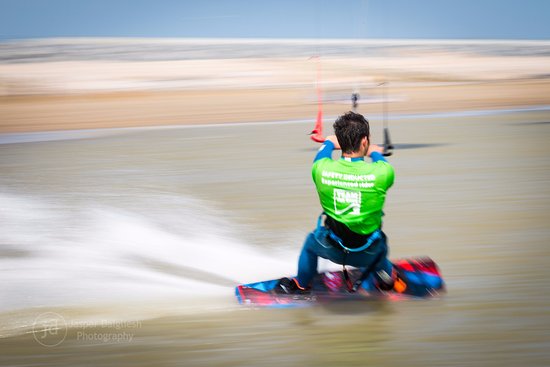
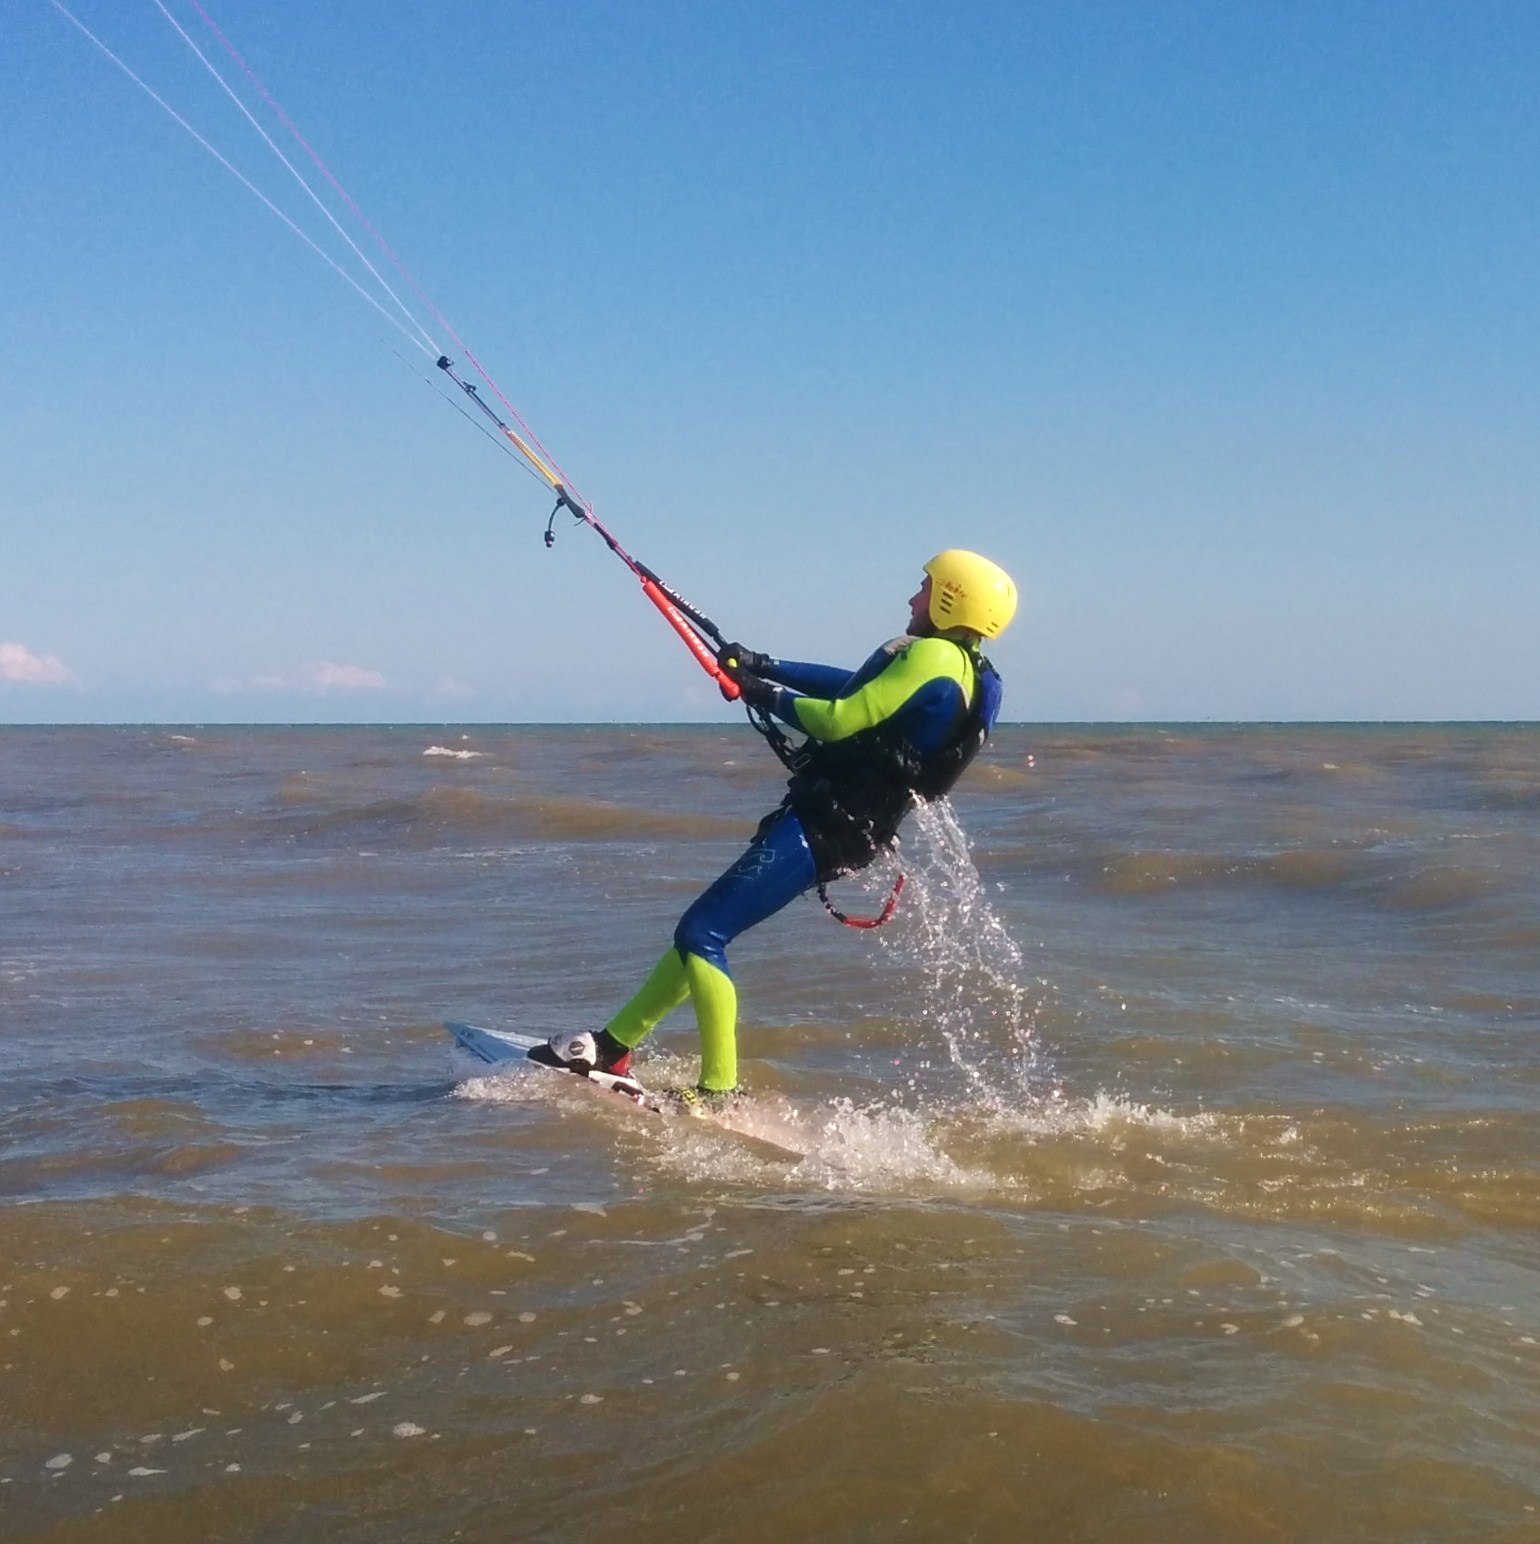
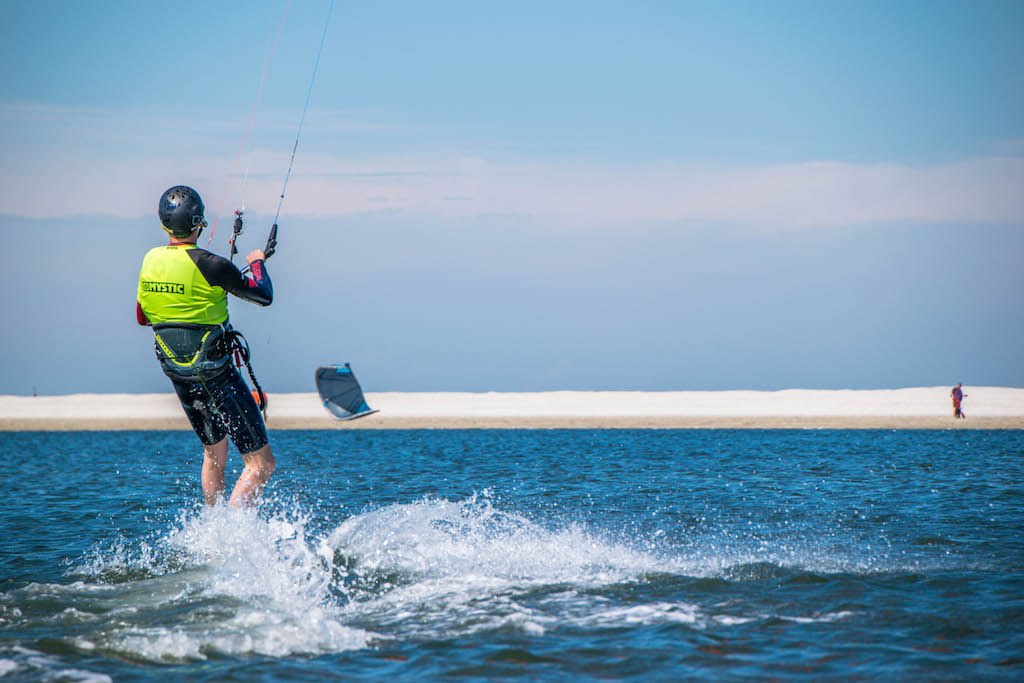
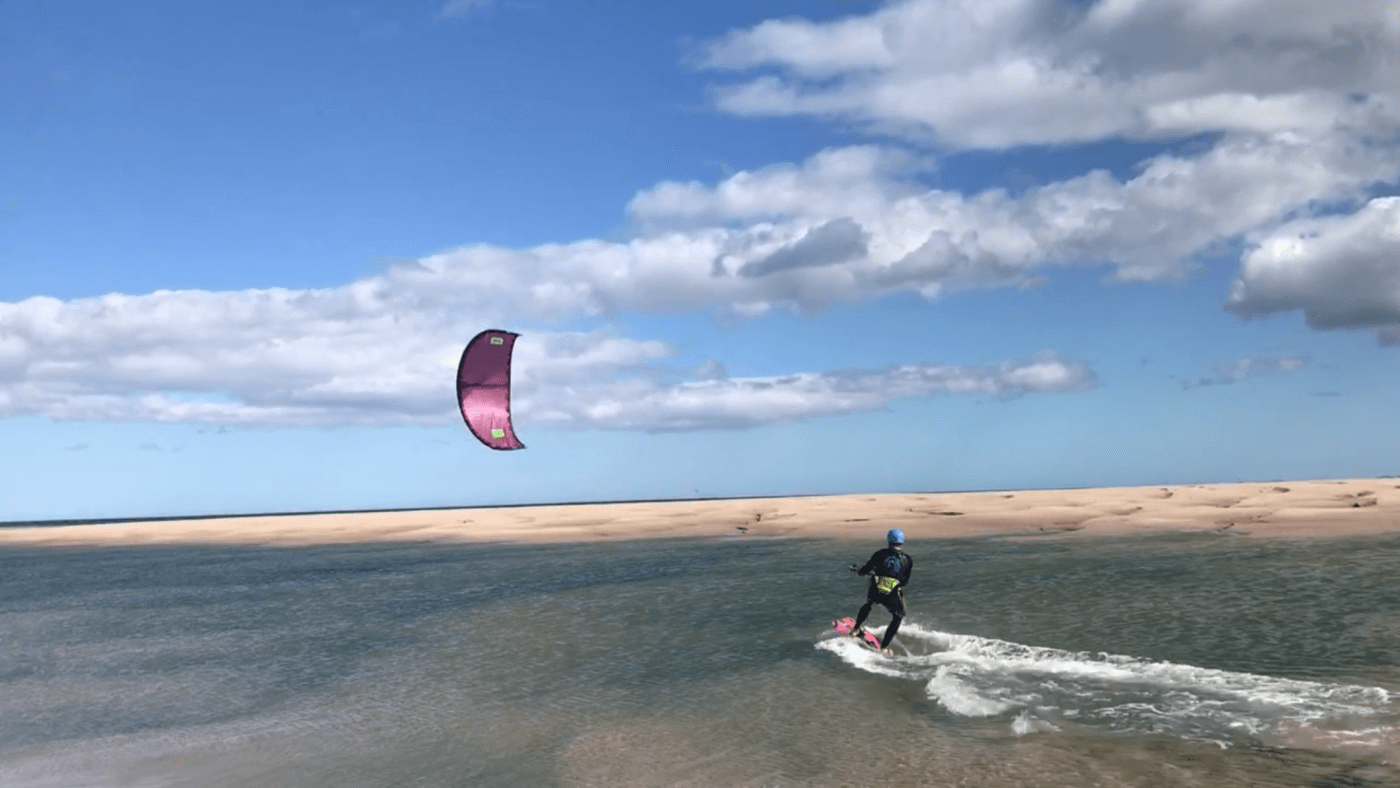
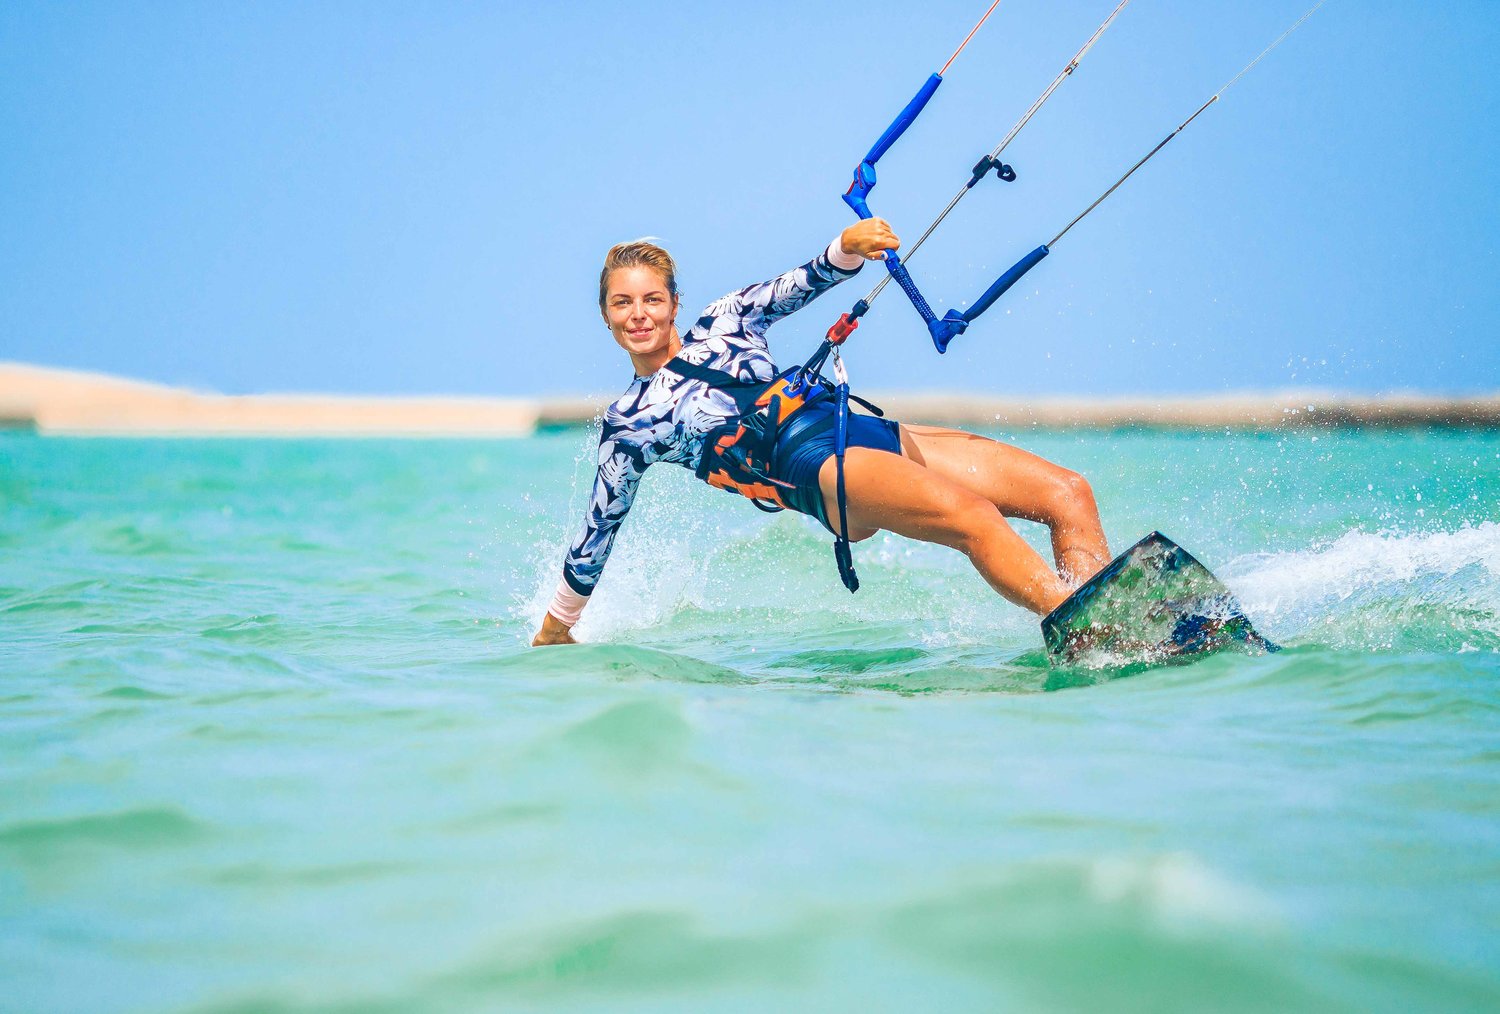
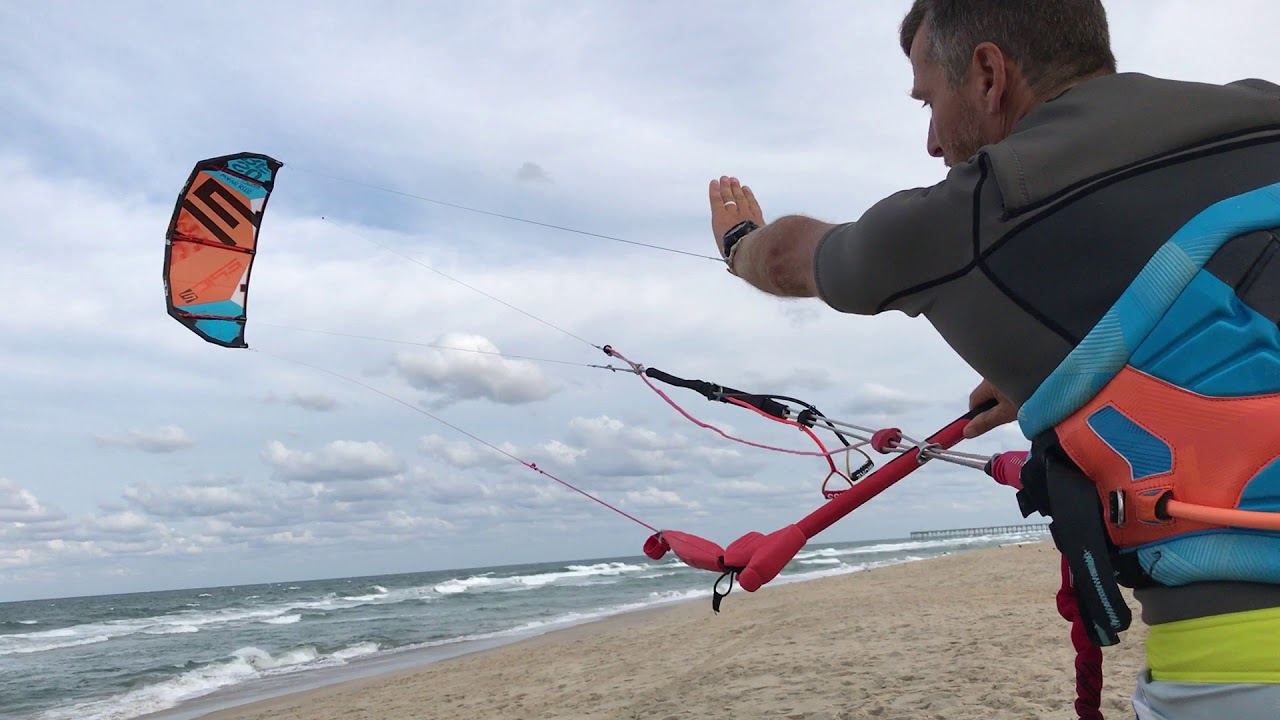
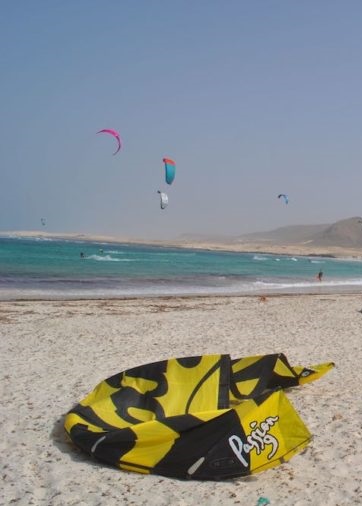
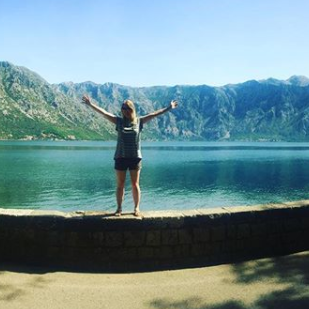
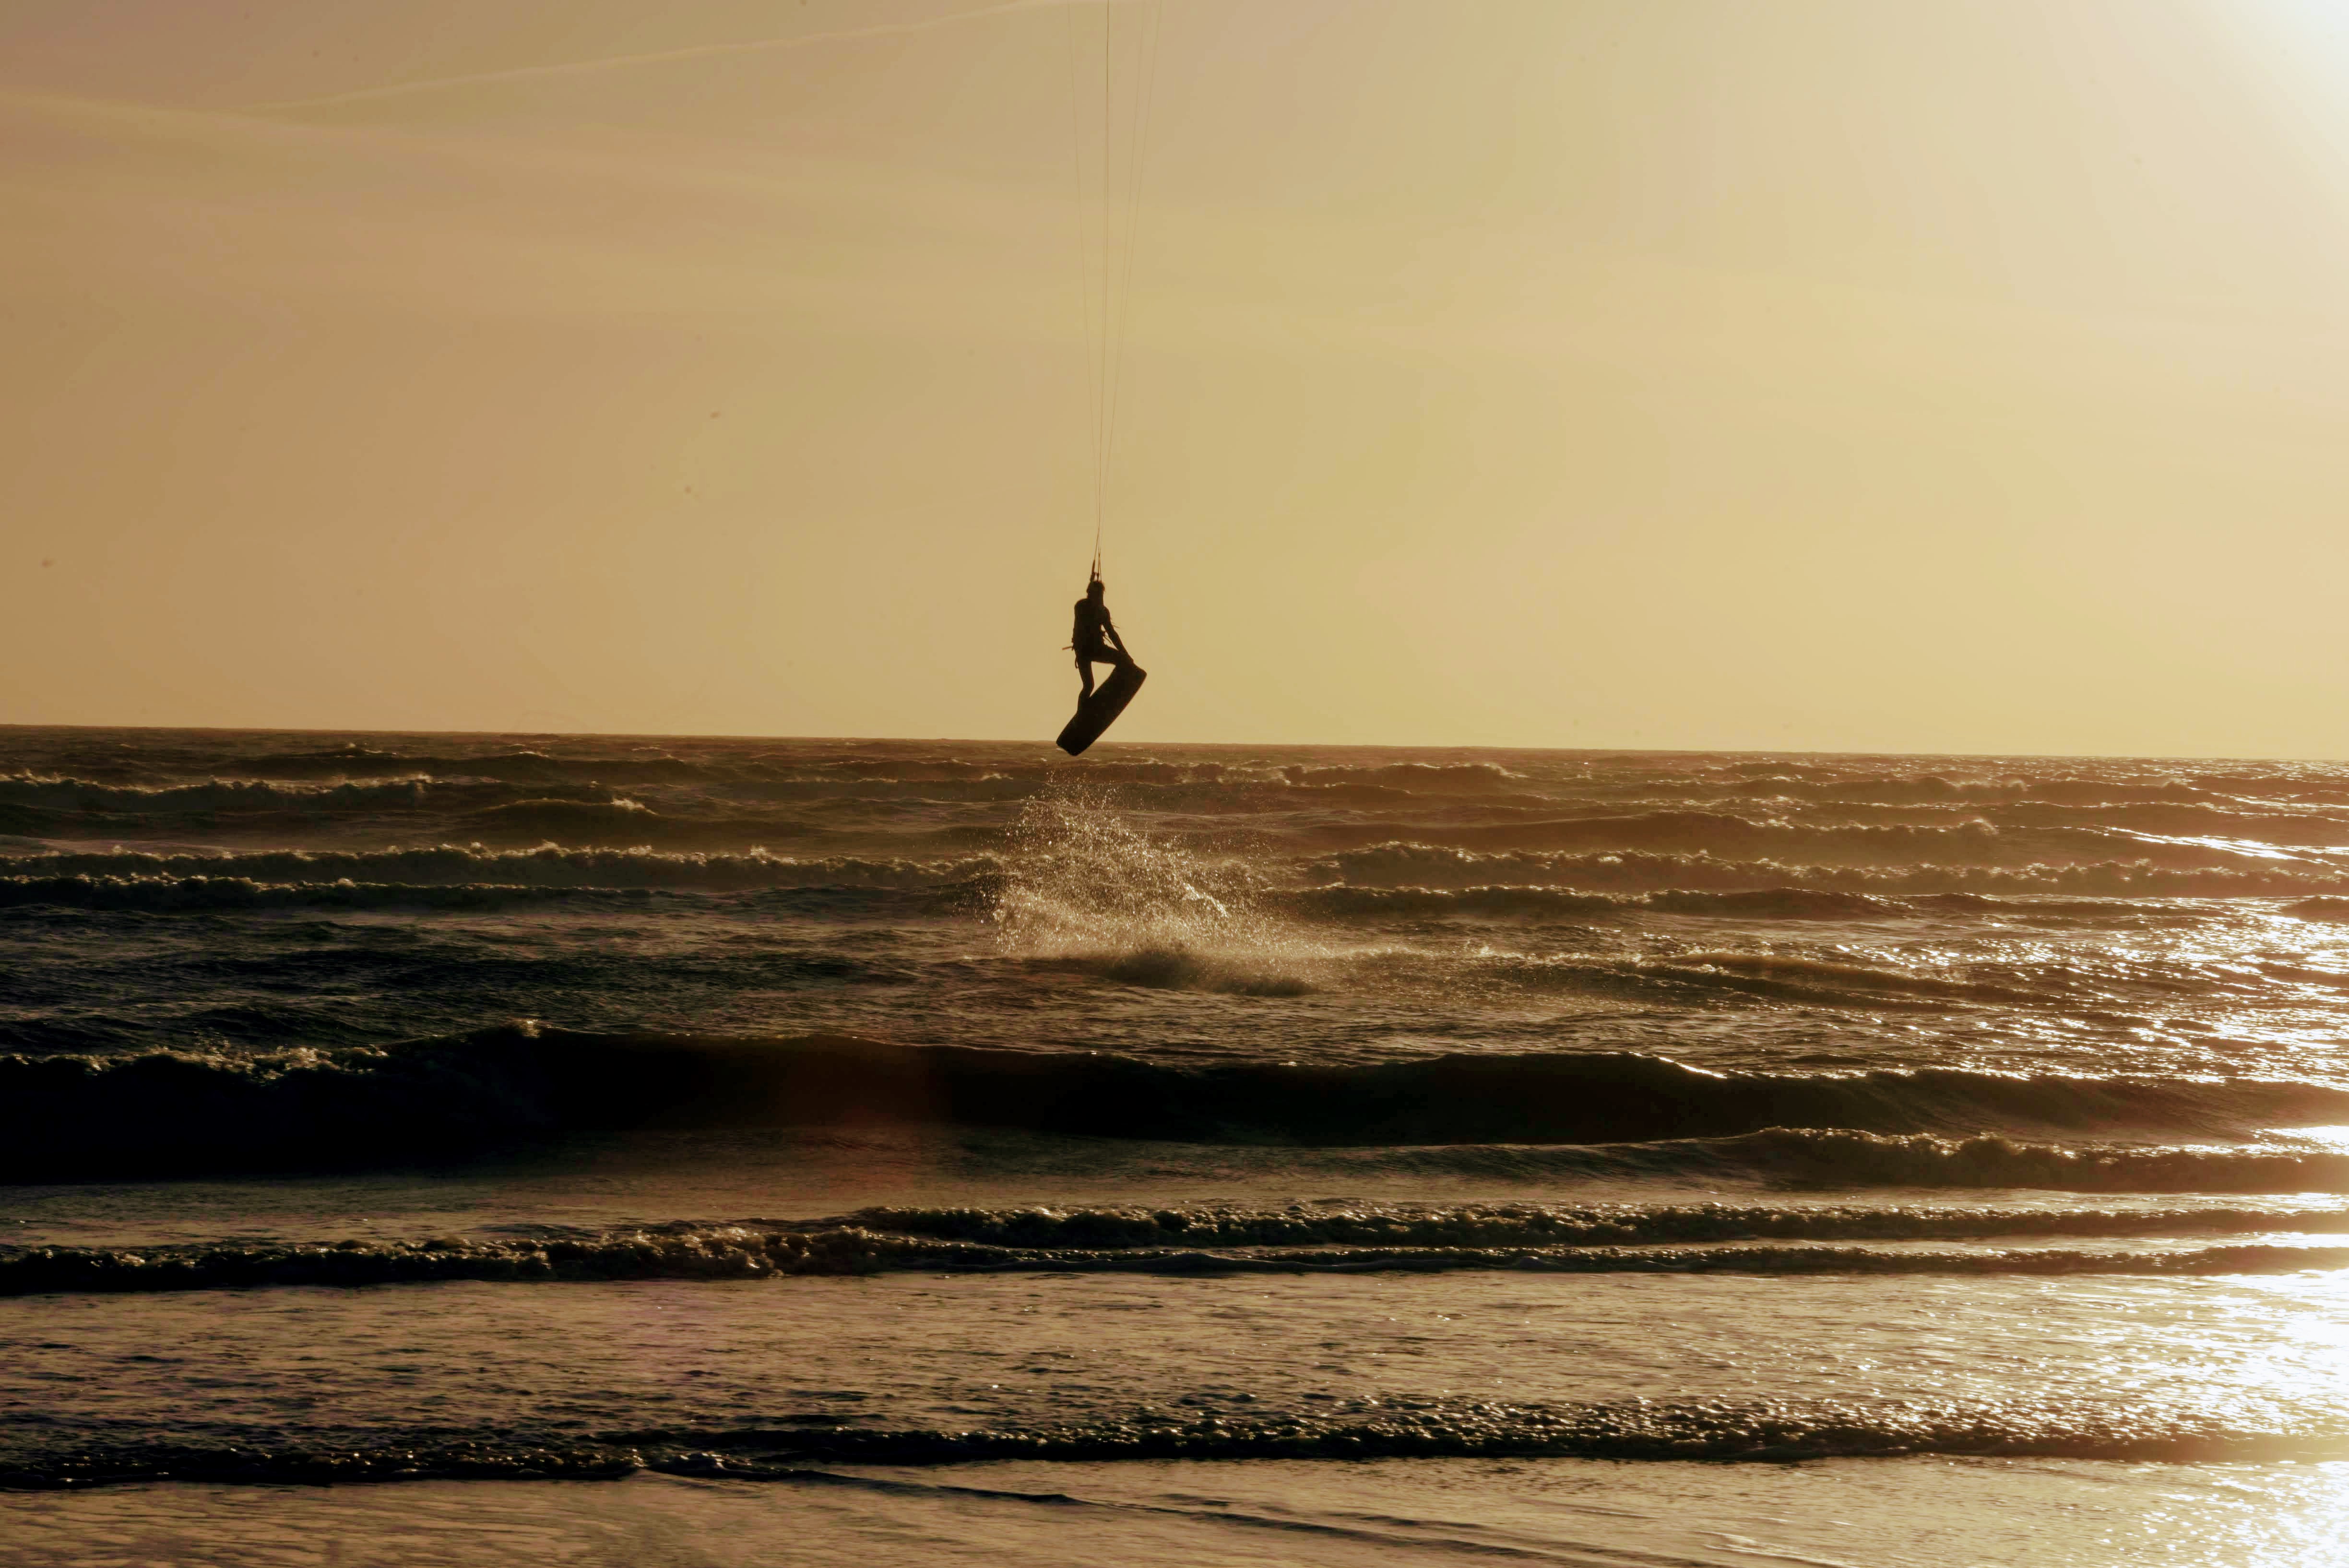
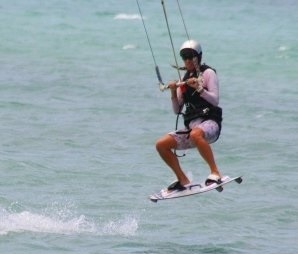
Here in the UK, kitesurfing is the sport of riding through the water with a kite and board, the logic being that surfing is a sport that takes place in the water. This is probably the definition that you are familiar with, and is the term that is used by the majority of kitesurfers and kite schools in the UK.
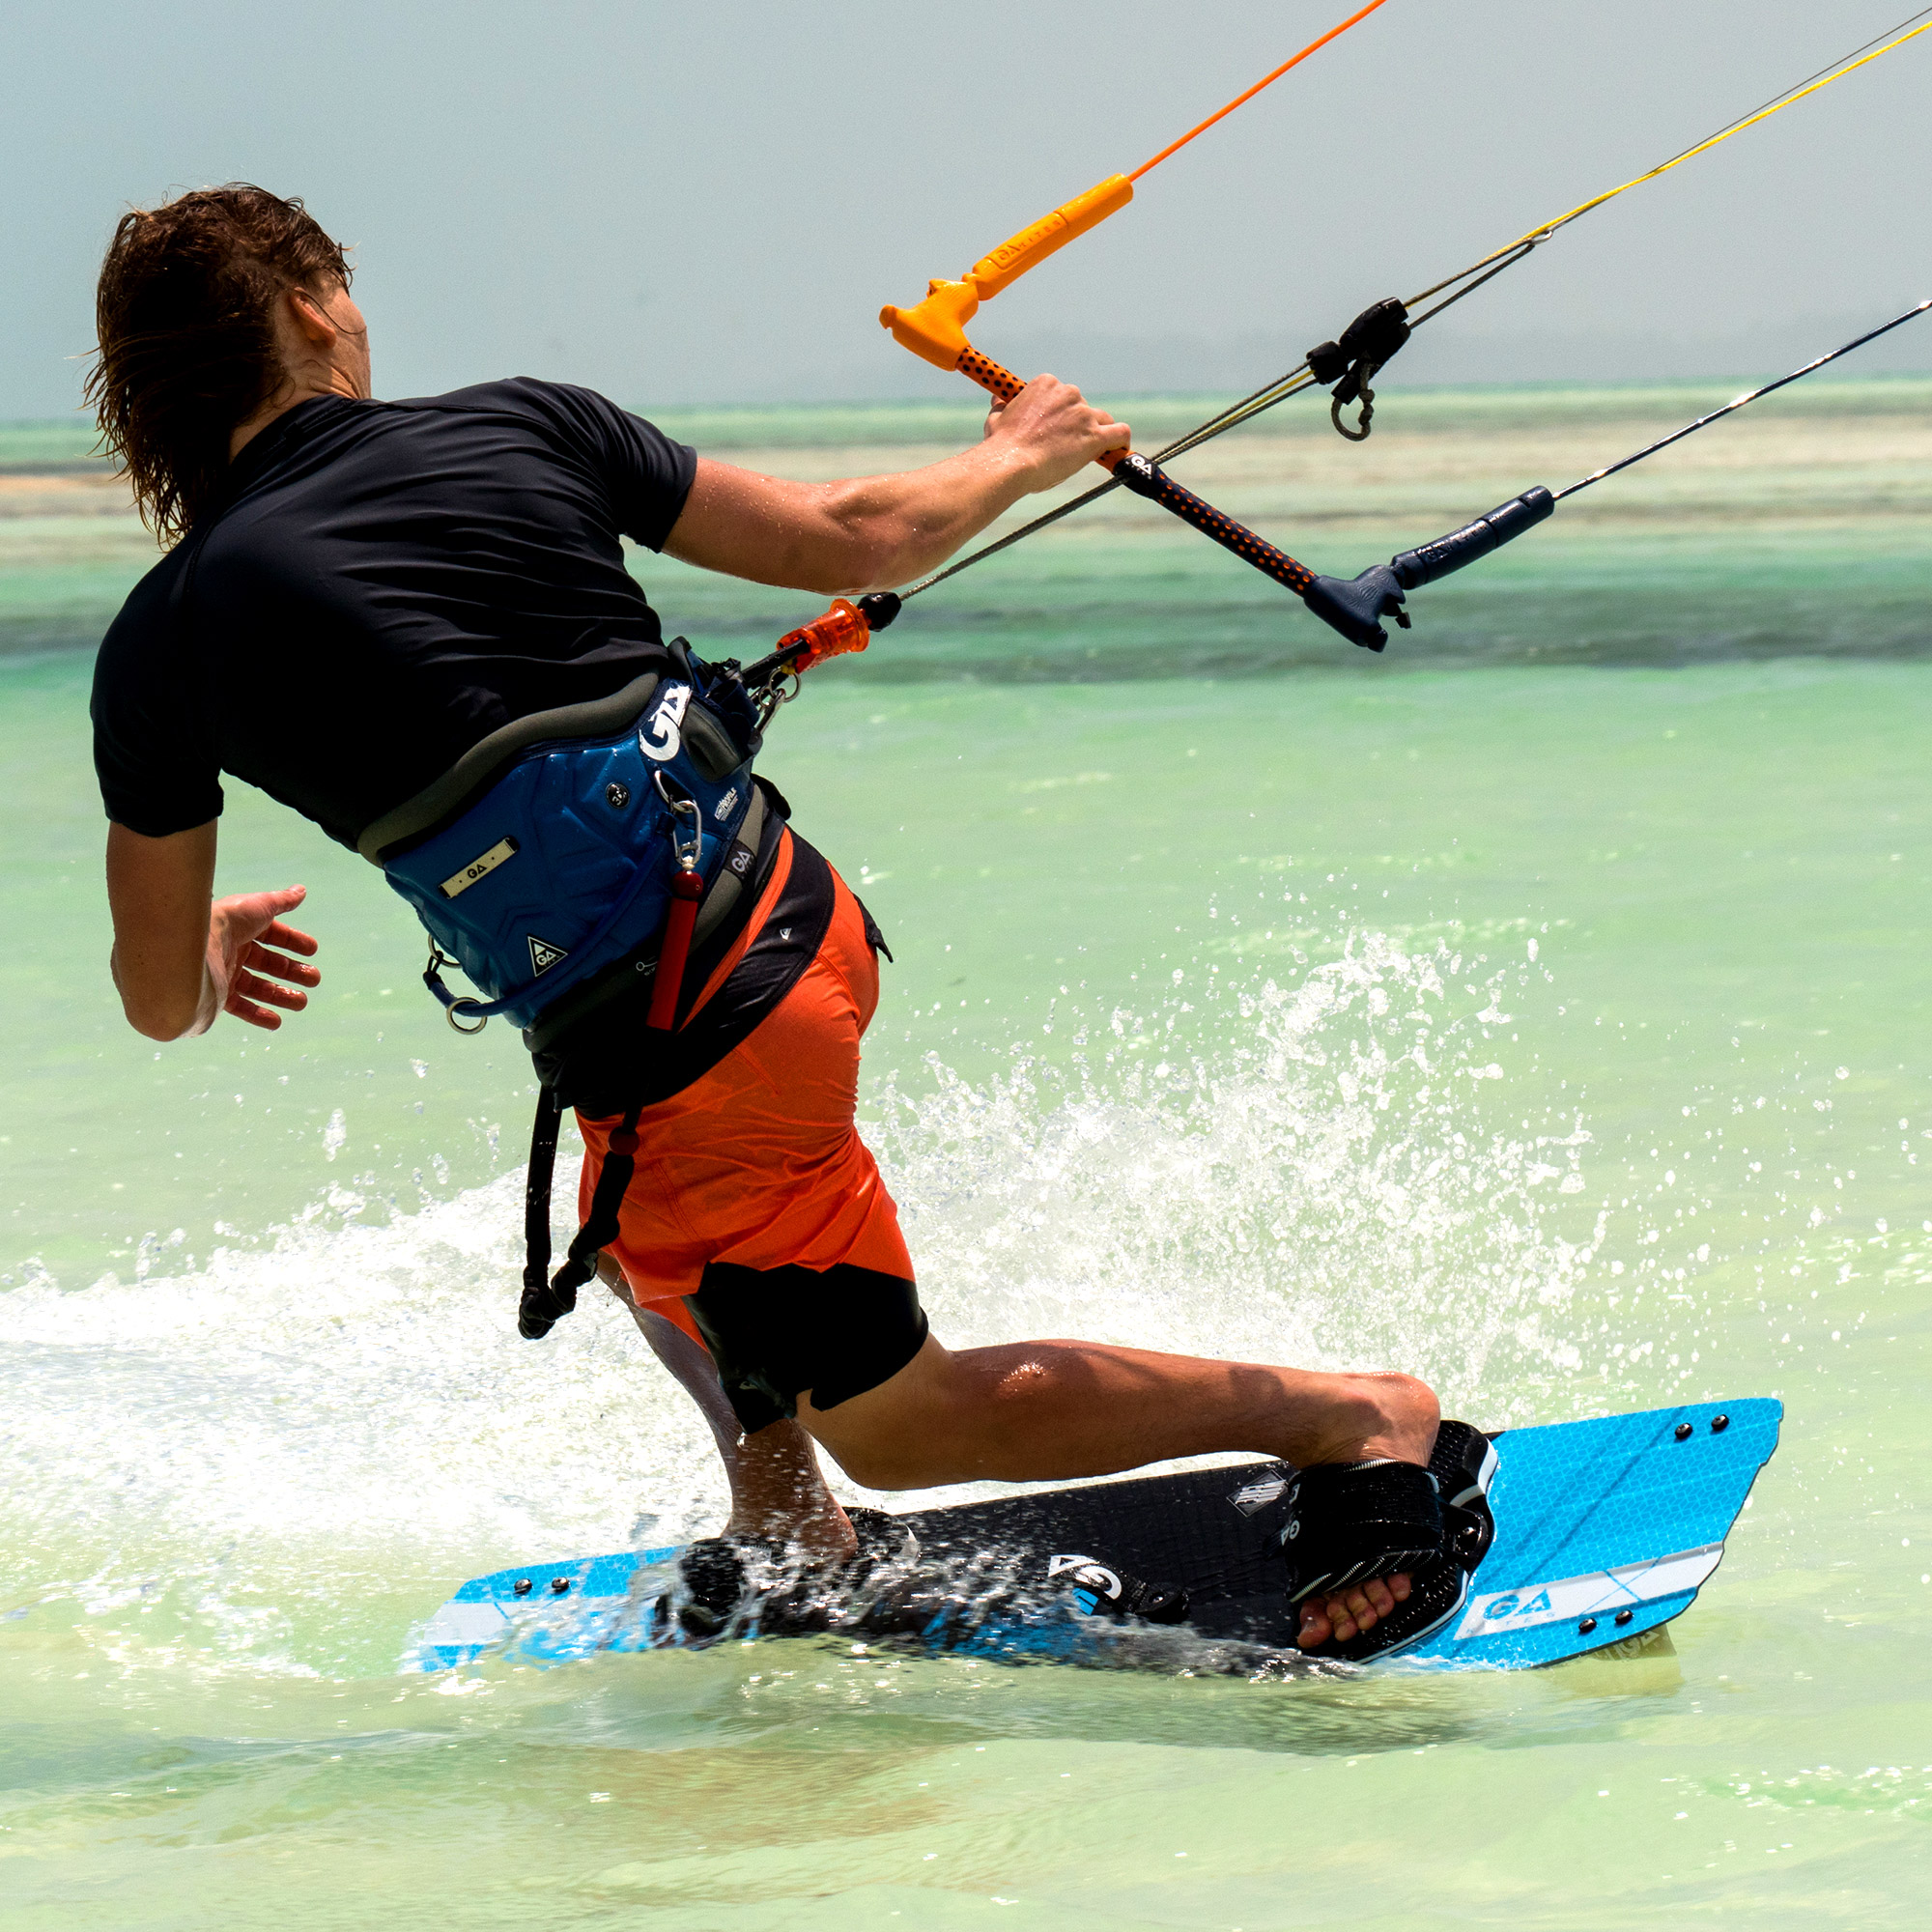
Many other countries, including the USA, South Africa and Australia, refer to kitesurfing as kiteboarding. So instead of referring to the act of surfing, they refer to the instrument on which it is done; the board. Why is this? Well a likely explanation is to look at the governing bodies of the sport.
BKSA
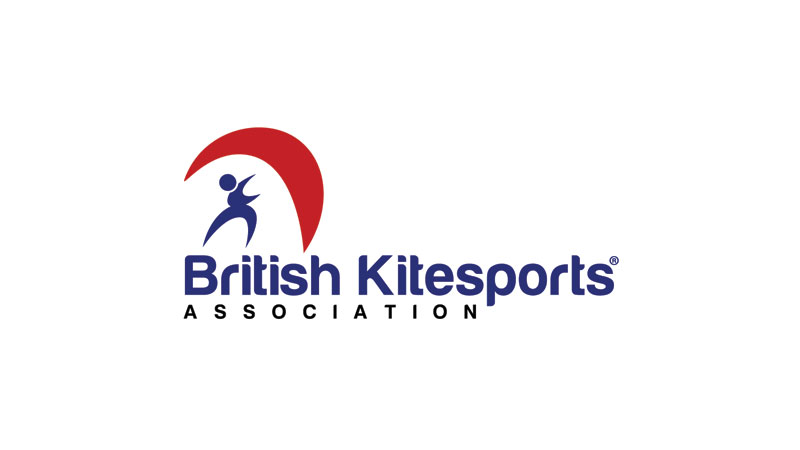
Internationally there are two principle organisations. The BKSA, short for the British Kitesports Association, is the governing body for the UK, and they are responsible for the maintenance and development of the sport. They train instructors, organise competitions and events, provide 3rd party insurance to riders, ensure safety standards in schools, and help to maintain beach access for kite flyers, along with many other things. Largely through their commitment to safety, an effective quality assessment method for both instructors and schools, and their accessible approach to training instructors, the BKSA have built a good reputation that is now being exported to other countries as a basis to train instructors and provide guidance to schools.
IKO
The IKO, short for the International Kiteboarding Organisation, is the American version, which has a much broader recognition internationally, and therefore promotes the term kiteboarding, for what we in the UK know as kitesurfing. The main difference between the BKSA and the IKO is that the BKSA is a registered non profit, whilst the IKO is not, and this is reflected in their practices. To summarise, IKO provide tuition for instructors and schools, much like the BKSA, but require minimal follow up to ensure that standards are maintained. For a more in-depth comparison – https://www.thekitesurfcentre.com/news/bksa-vs-iko
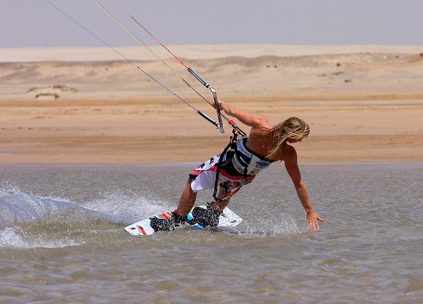
So kitesurfing in the UK refers to the act of whizzing through the water on a board with a kite. Abroad, this is mainly referred to as kiteboarding.
What does Kiteboarding refer to in the UK?
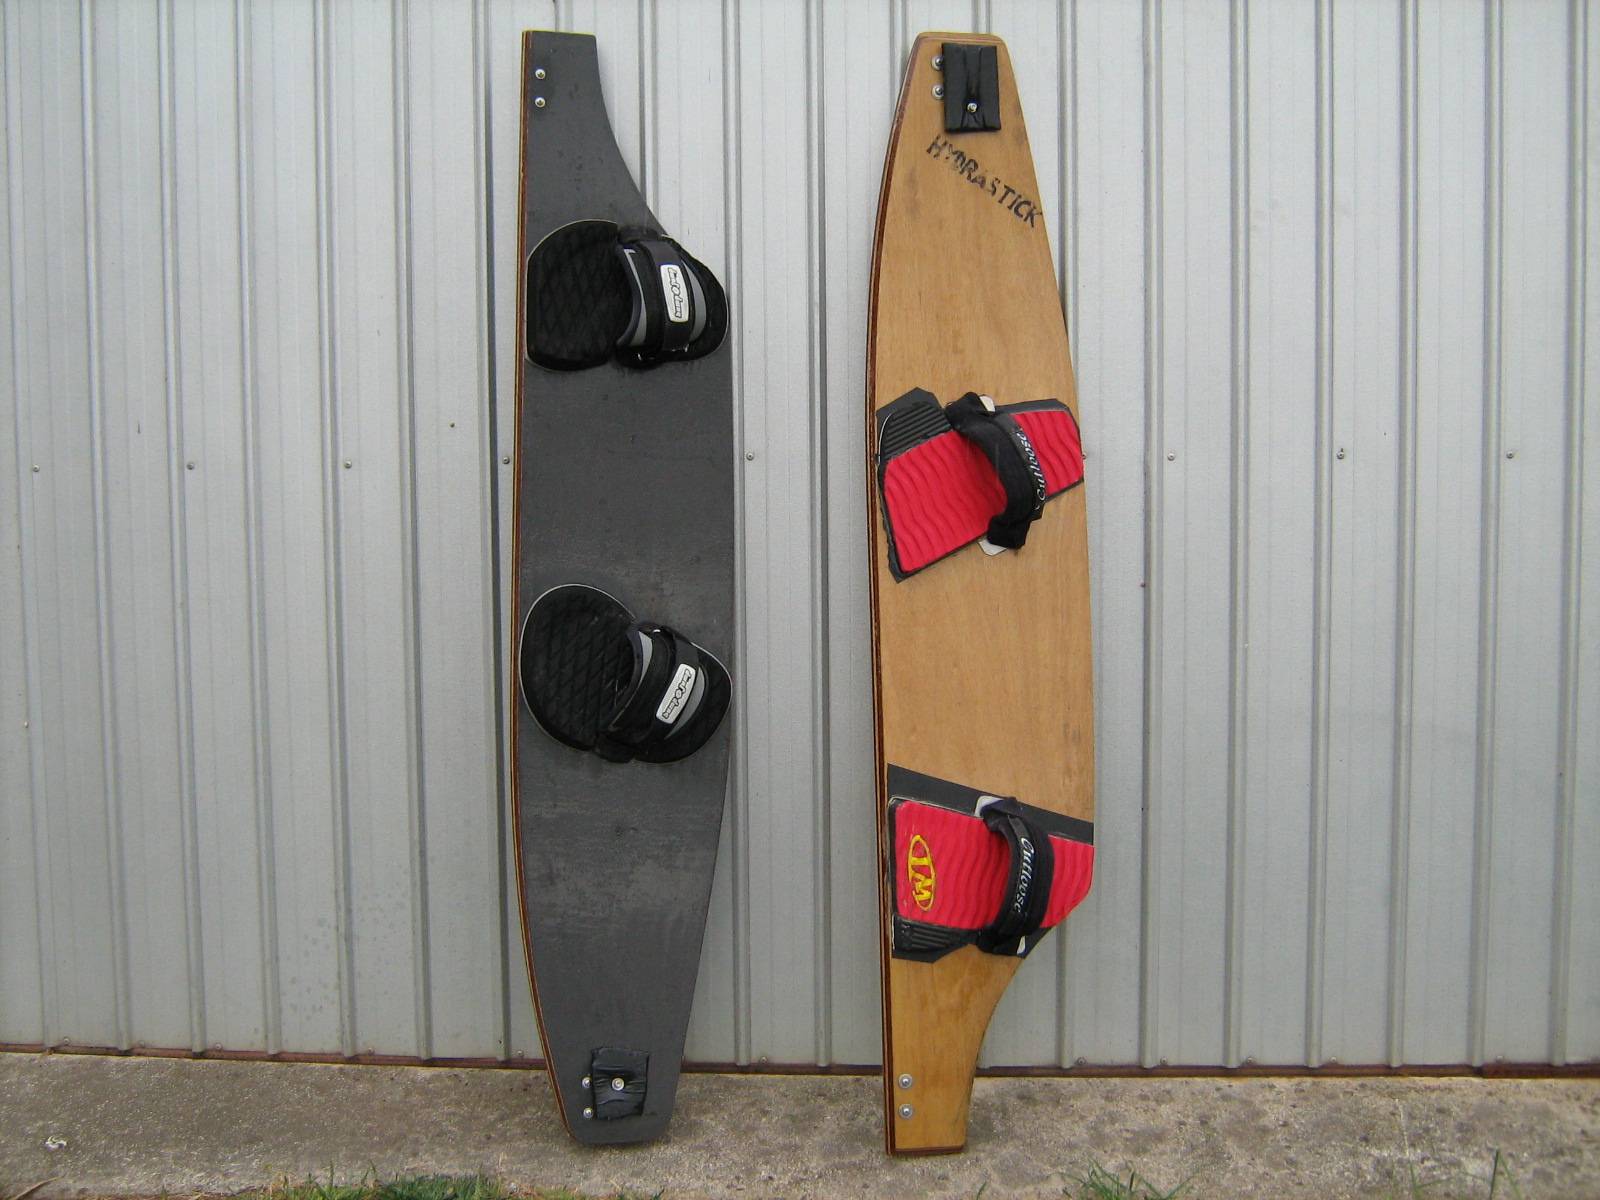
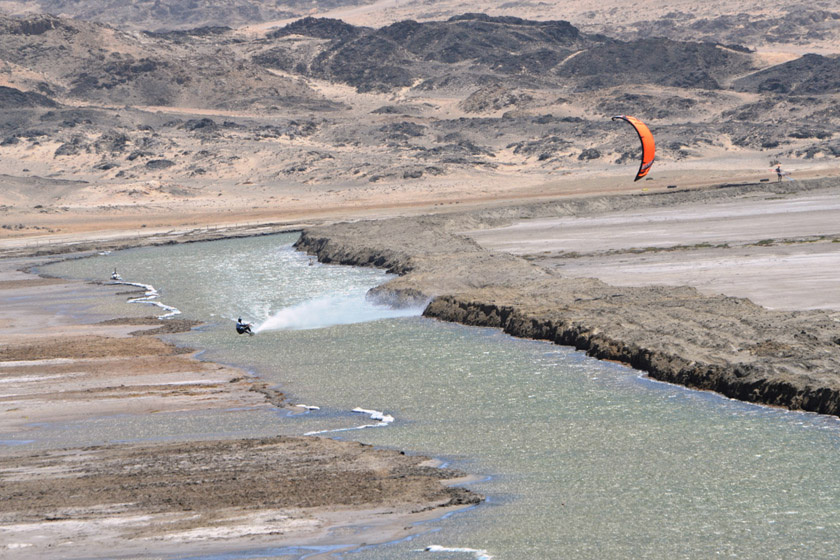
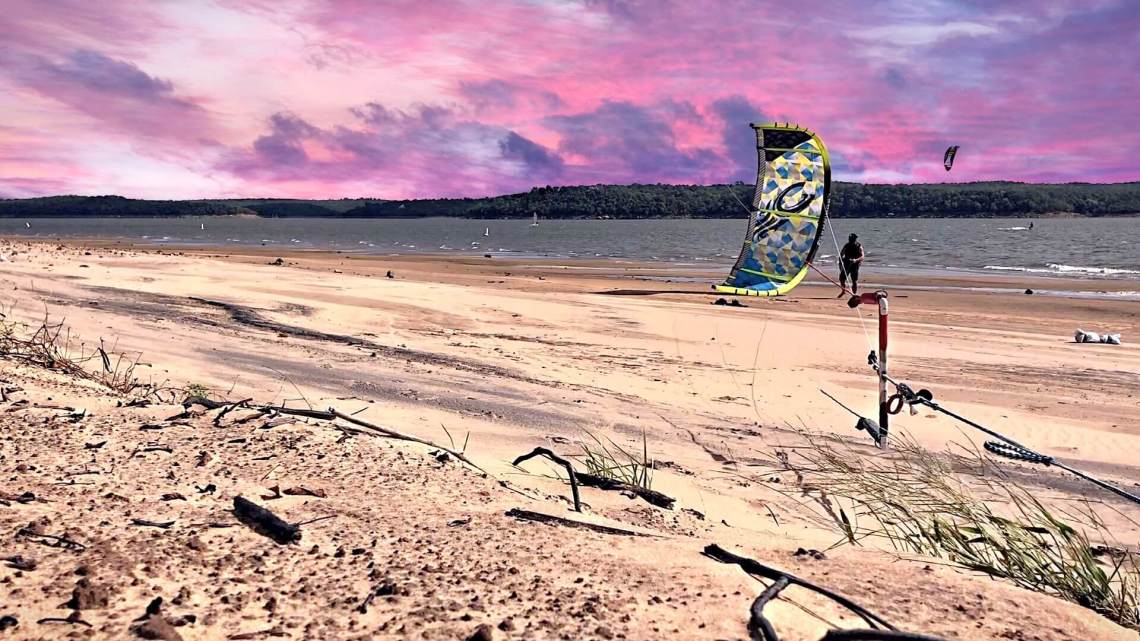
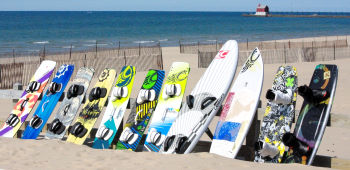
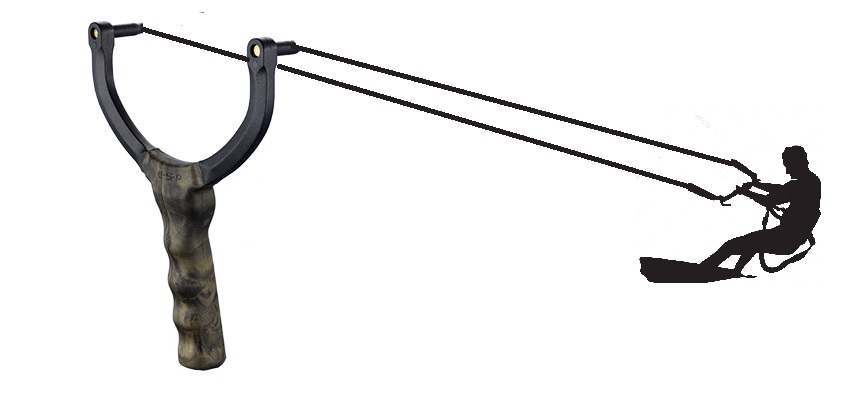
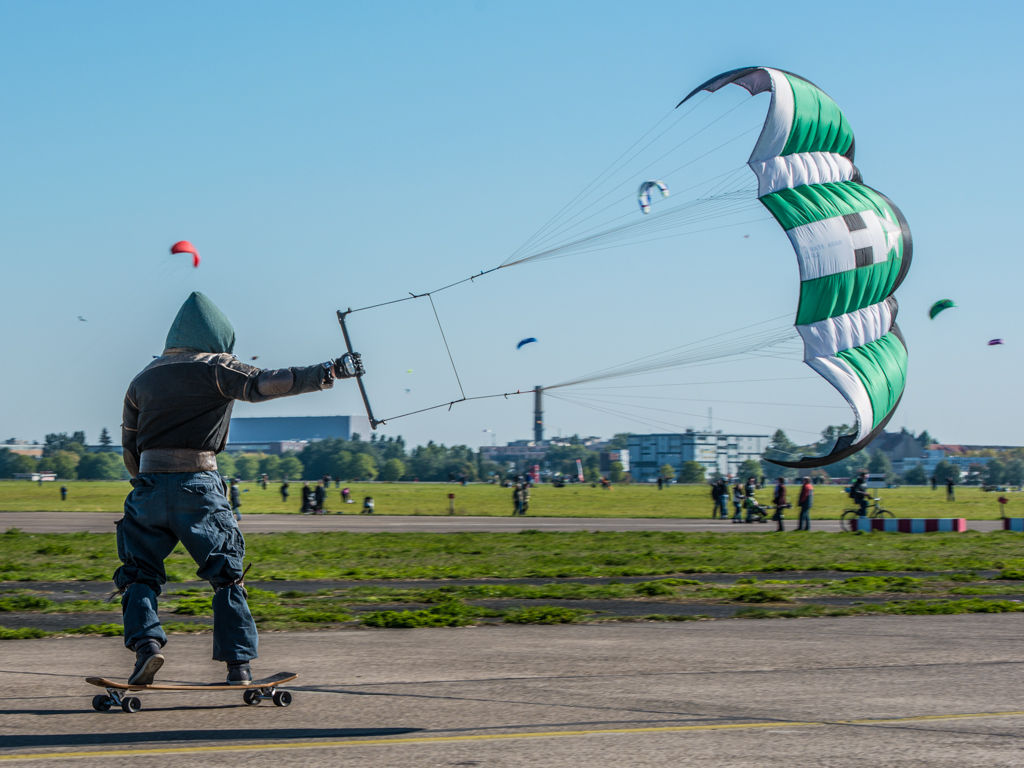
As previously mentioned, kiteboarding is the dry version of kitesurfing, and has been around for as long, or perhaps even longer, then kitesurfing. Instead of using a kitesurfing board, kiteboarders use a skateboard with large wheels, this providing them with plenty of ground clearance to whizz across the beach on. Sounds fun!
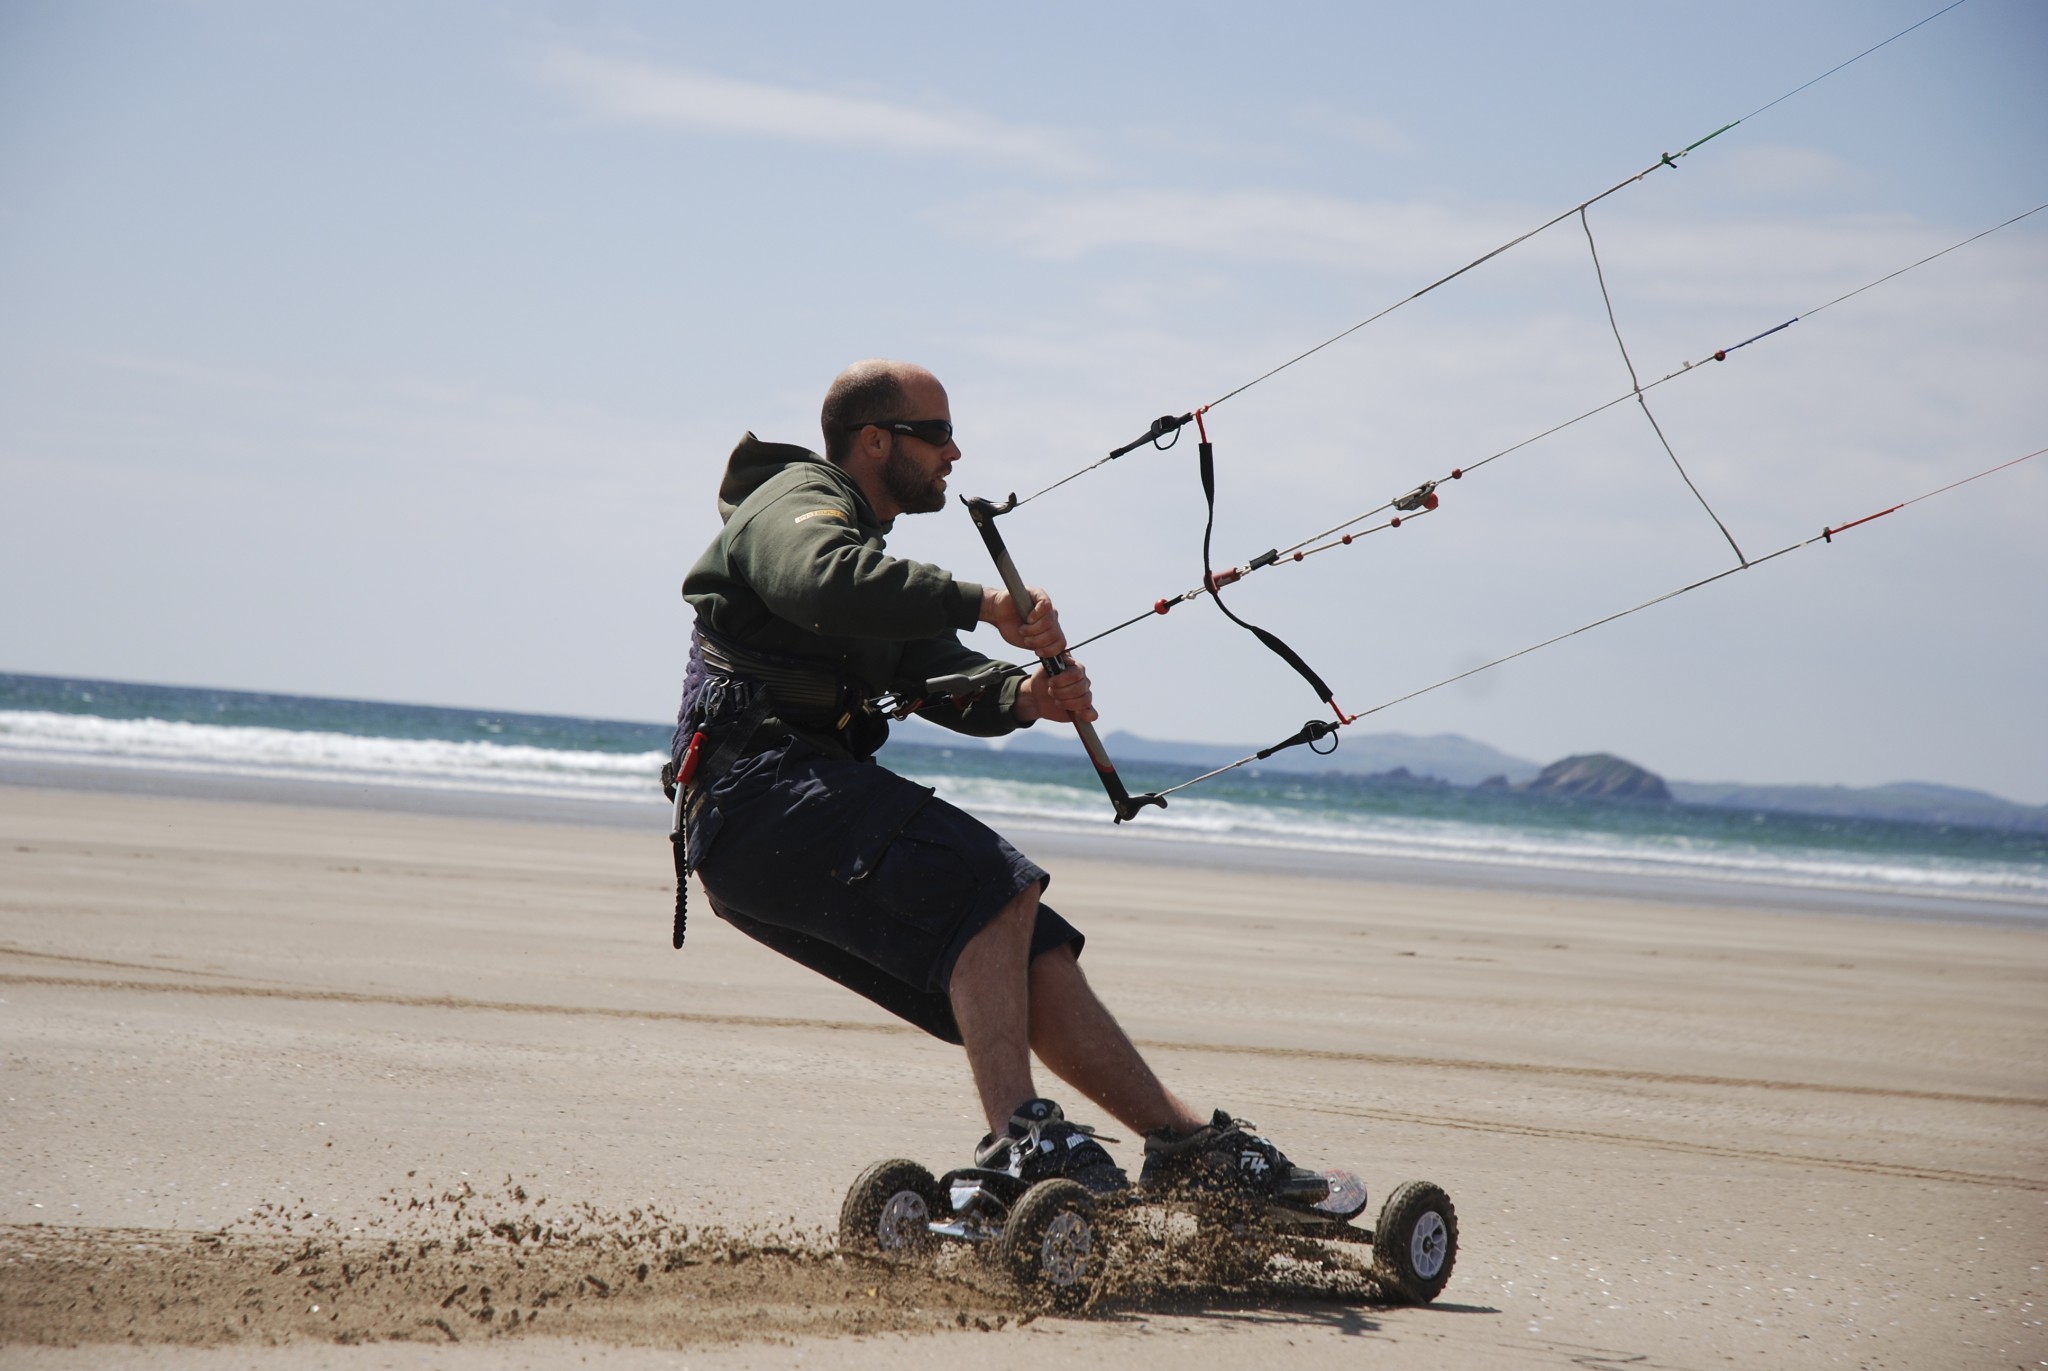
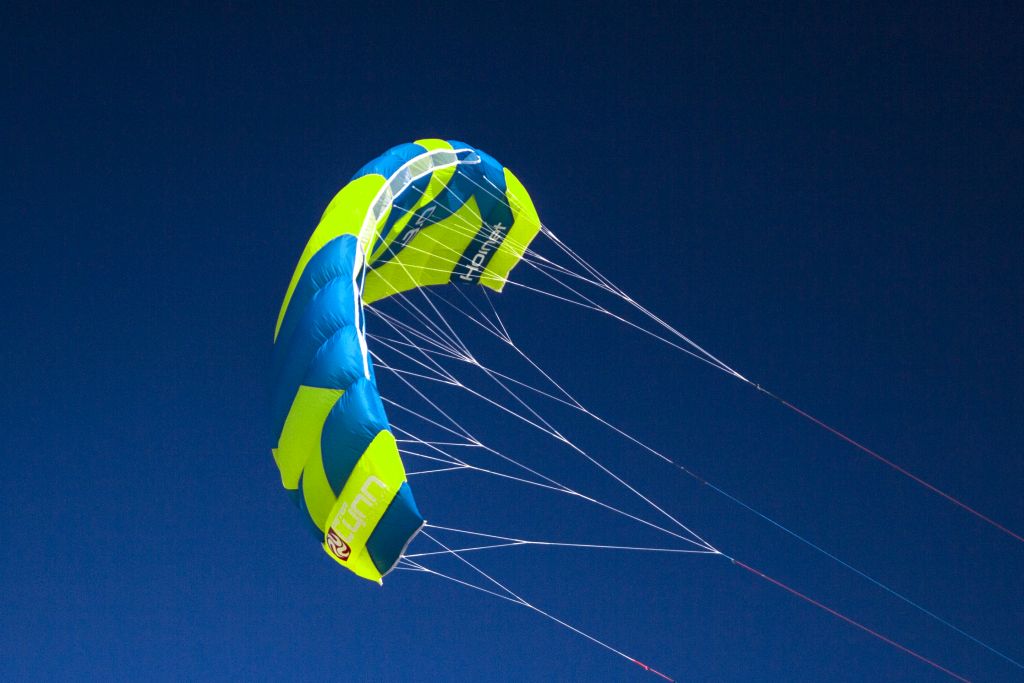
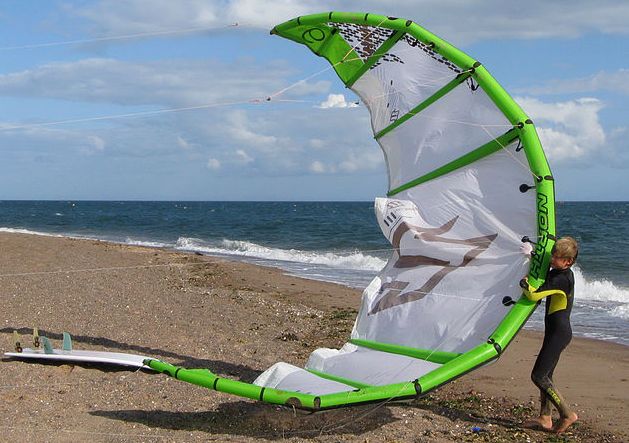
The other main difference in a kiteboarder’s makeup is the type of kite they use. Typically they use foil, or ram kites. As it is not easy for kiteboarders to redirect a downward pull, they require a kite that is effective at pulling them to either side. Foil kites are better at flying on the edge of the wind window as they are high aspect, and on account of their lighter weight, less likely to fall to the ground then the LEI kitesurfing kites. kiteboarders also do not require the use of an LEI as they are not playing around in the water. If they crash a foil on the beach, it’s not going to get mushed by the waves, and can therefore be easily relaunched.
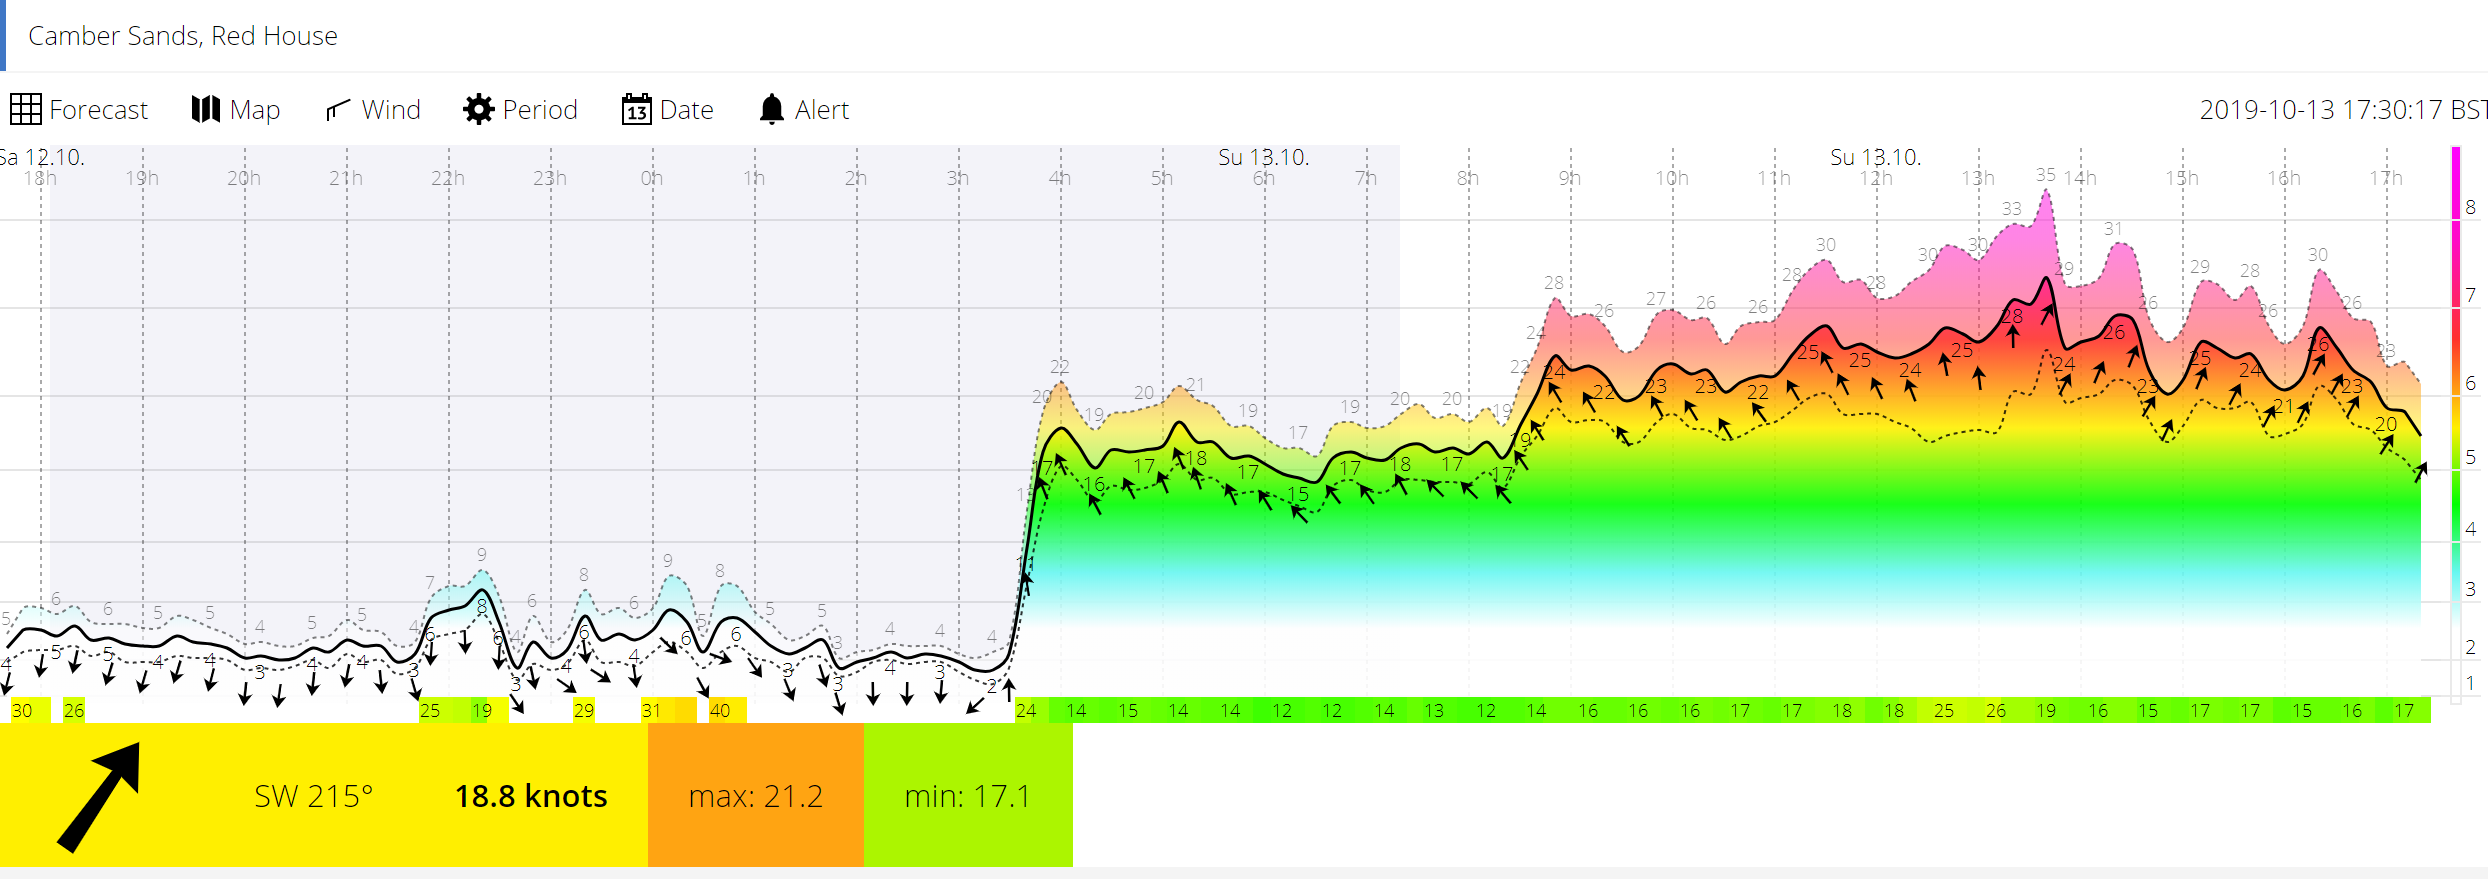
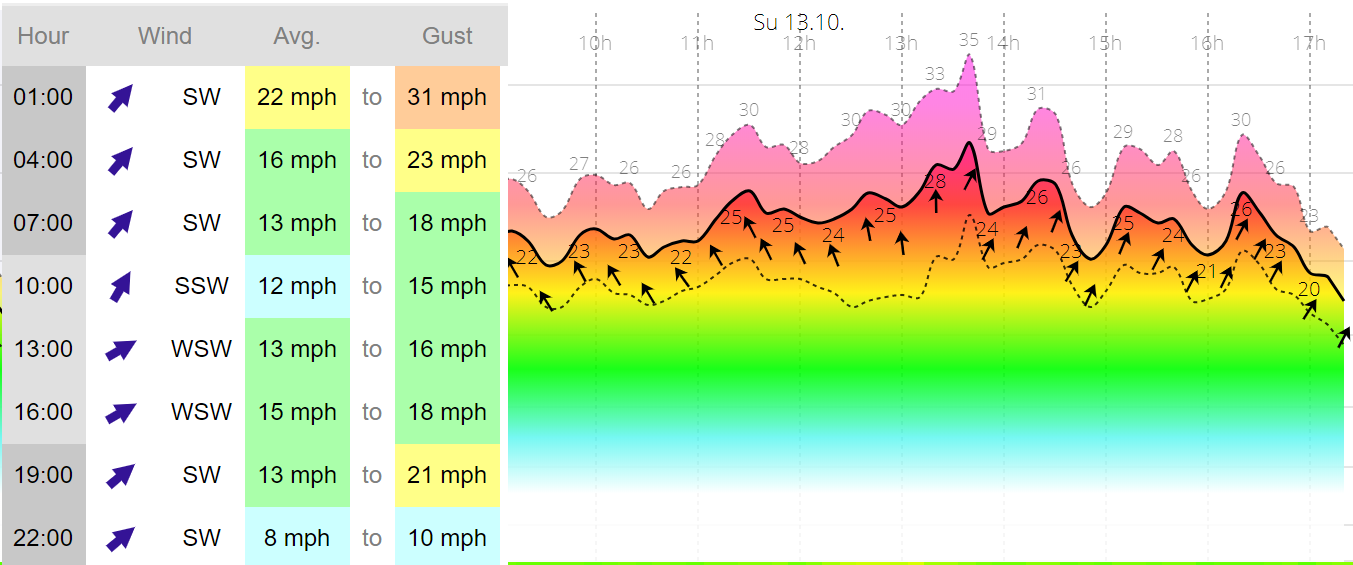
Other considerations for kiteboarders centre around the beach. Long and deep sandy coastlines are ideal, giving plenty of room for all beach users and birds to enjoy the space. A decent run of sand needs to be exposed by the tide, and the density of sand is also significant. Kiteboarders prefer to ride on raised strips of sand, or sandbanks, as this is where the sand tends to be the hardest, providing the most ideal surface for riding.
If you’d like to give kiteboarding a go, have a look at our courses. It’s great fun, and teaches you many of the skills required for other kitesports should you wish to try something else. https://www.thekitesurfcentre.com/kitesurfing-school/kite-landboarding-lessons
So what is the difference between kitesurfing and kiteboarding? Rather oddly, your location!